High quality, low filesize GIFs
August 2, 2025
While the GIF format is a little on the older side, it’s still a really handy format in 2025 for sharing short clips where an actual video file might have some compatibility issues.
For instance, I find when you just want a short little video on your website, a GIF is still so handy versus a video, where some browsers will refuse to autoplay them, or seem like they’ll autoplay them fine until Low Battery Mode is activated, etc. With GIFs it’s just… easy, and sometimes easy is nice. They’re super handy for showing a screen recording of a cool feature in your app, for instance.
What’s not nice is the size of GIFs. They have a reputation of being absolutely enormous from a filesize perspective, and they often are, but that doesn’t have to be the case, you can be smart about your GIF and optimize its size substantially. Over the years I’ve tried lots of little apps that promise to help to no avail, so I’ve developed a little script to make this easier that I thought might be helpful to share.
Naive approach
Let’s show where GIFs get that bad reputation so we can have a baseline.
We’ll use trusty ol’ ffmpeg (in the age of LLMs it is a super handy utility), which if you don’t have already you can install via brew install ffmpeg. It’s a handy (and in my opinion downright essential) tool for doing just about anything with video.
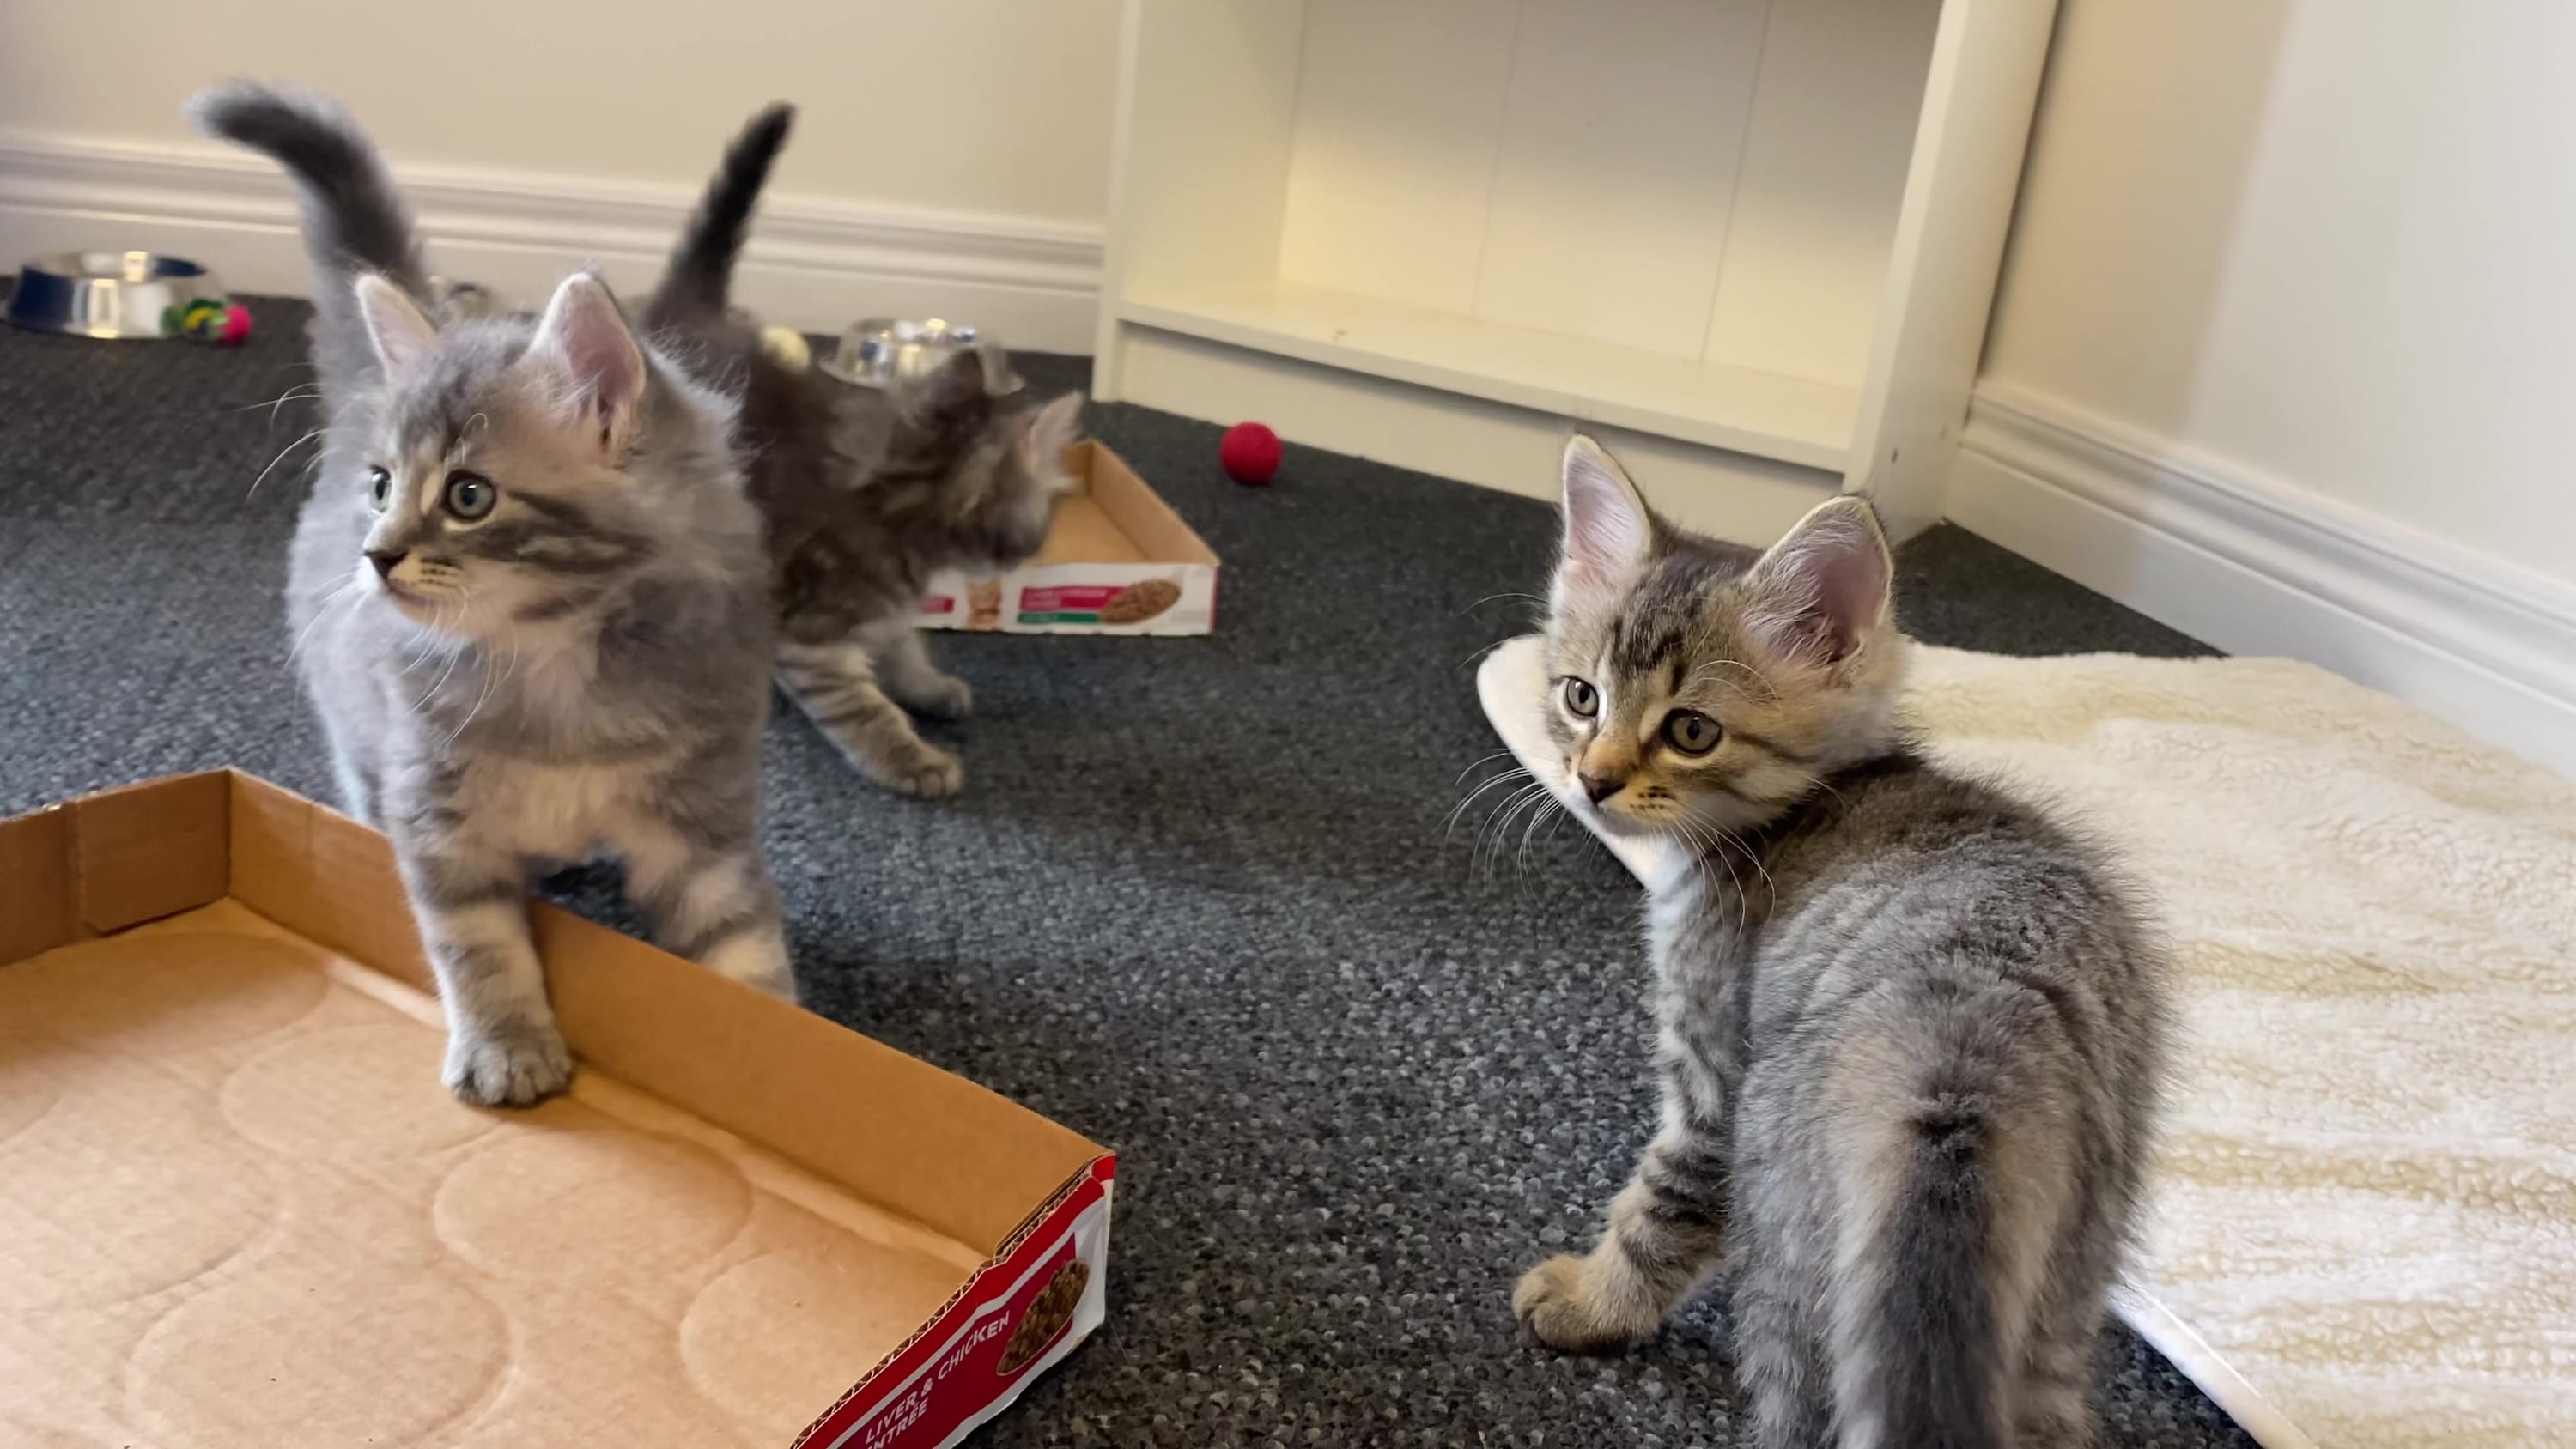
For a video we’ll use this cute video of some kittens I took at our local animal shelter:
It’s 4K, 30 FPS, 5 seconds long, and thanks to its H265/HEVC video encoding it’s only 19.5 MB. Not bad!
Let’s just chuck it into ffmpeg and tell it to output a GIF and see how it does.
ffmpeg -i kitties.mp4 kitties.gif
Okay, let that run and- oh no.
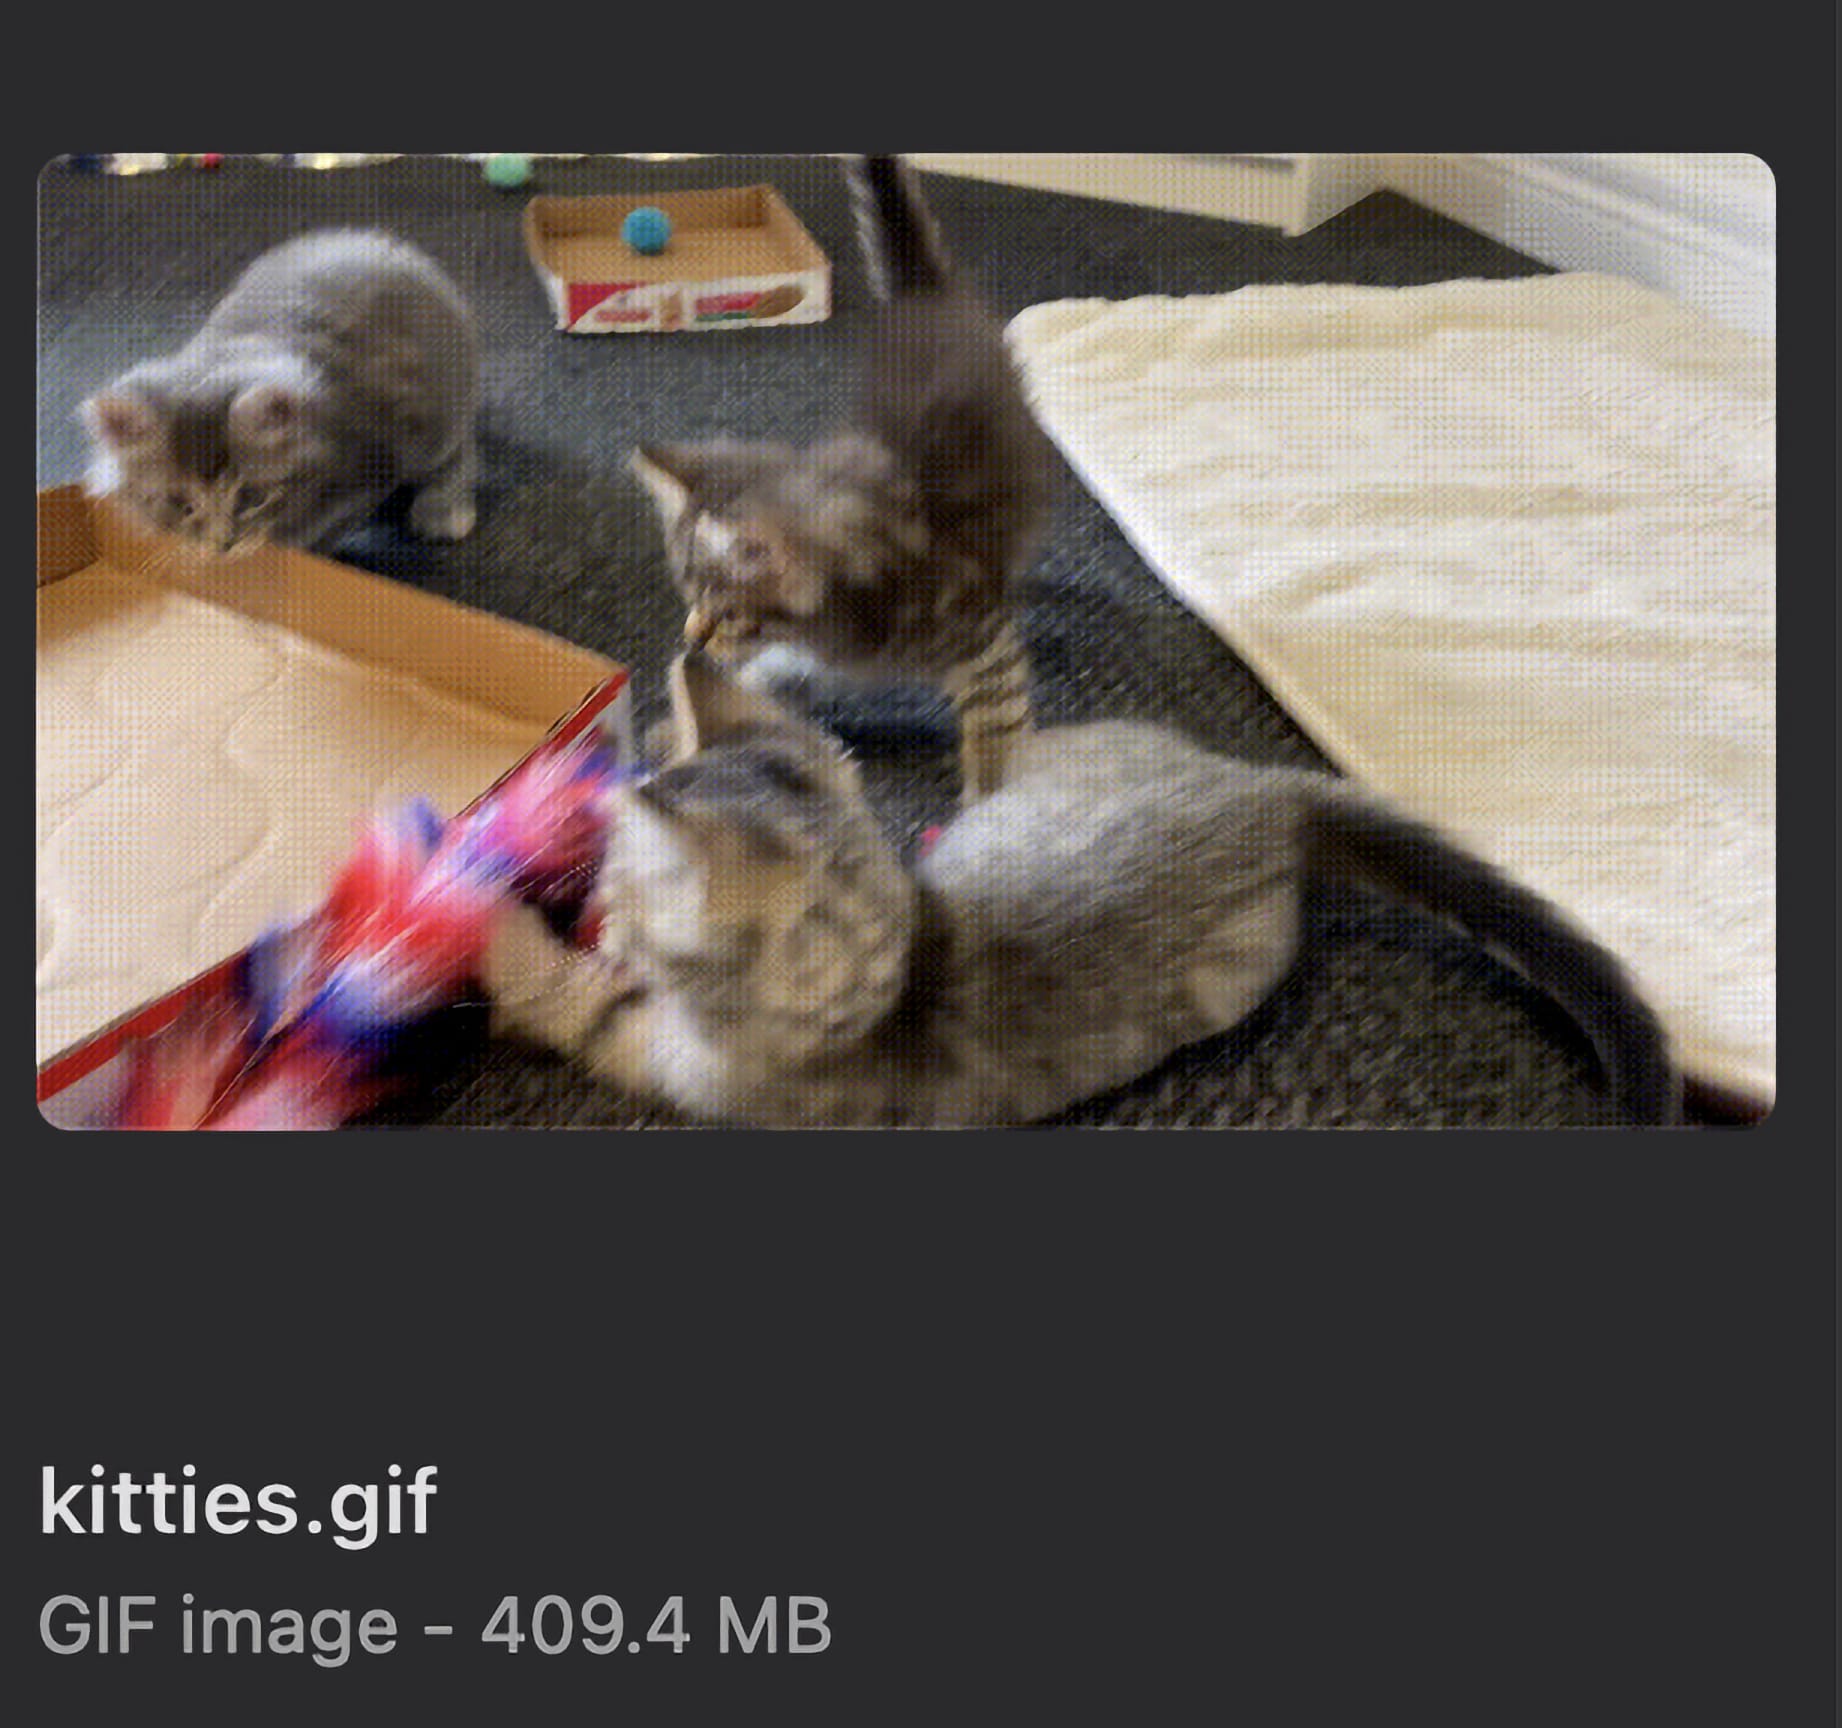
For your sake I’m not even going to attach the GIF here in case folks are on mobile data, but the resulting file is 409.4MB. Almost half a gigabyte for a 5 second GIF of kittens. We gotta do better.
Better
We can do better.
Let’s throw a bunch of confusing parameters at ffmpeg (that I’ll break down) to make this a bit more manageable.
ffmpeg -i kitties.mp4 -filter_complex "fps=24,scale=iw*sar:ih,scale=1000:-1,split[a][b];[a]palettegen[p];[b][p]paletteuse=dither=floyd_steinberg" kitties2.gif
Okay, lot going on here, let’s break it down.
fps=24: we’re dropping down to 24 fps from 30 fps, many folks upload full YouTube videos at this framerate so it’s more than acceptable for a GIF.scale=iw*sar:ih: sometimes video files have weird situations where the aspect ratio of each pixel isn’t square, which GIFs don’t like, so this is just a correction step so that doesn’t potentially trip us upscale=1000:-1: we don’t need our GIF to be 4K, and I’ve found 1,000 pixels across to be a great middle ground for GIFs. The -1 at the end just means scale the height to the appropriate value rather than us having to do the math ourselves.- The rest is related to the color palette, we’re telling
ffmpegto scan the entire video to build an appropriate color palette up, and to use the Floyd-Steinberg algorithm to do so. I find this algorithm gives us the highest quality output (which is also handy for compressing it more in further steps)
This gives us a dang good looking GIF that clocks in at about 10% the file size at 45.8MB.
Link to GIF in lieu of embedding directly
Nice!
Even better
ffmpeg is great, but where it’s geared toward videos it doesn’t do every GIF optimization imaginable. You could stop where we are and be happy, but if you want to shave off a few more megabytes, we can leverage gifsicle, a small command line utility that is built around optimizing GIFs.
We’ll install gifsicle via brew install gifsicle and throw our GIF into it with the following:
gifsicle -O3 --lossy=65 --gamma=1.2 kitties2.gif -o kitties3.gif
So what’s going on here?
O3is essentially gifsicle’s most efficient mode, doing fancy things like delta frames so changes between frames are stored rather than each frame separatelylossy=65defines the level of compression, 65 has been a good middle ground for me (200 I believe is the highest compression level)gamma=1.2is a bit confusing, but essentially the gamma controls how thelossyparameter reacts to (and thus compresses) colors.1will allow it to be quite aggressive with colors, while2.2(the default) is much less so. Through trial and error I’ve found1.2causes nice compression without much of a loss in quality
The resulting GIF is now 23.8MB, shaving a nice additional 22MB off, so we’re now at a meager 5% of our original filesize.
That’s a lot closer to the 4K, 20MB input, so for a GIF I’ll call that a win. And for something like a simpler screen recording it’ll be even smaller!
Make it easy
Rather than having to remember that command or come back here and copy paste it all the time, add the following to your ~/.zshrc (or create it if you don’t have one already):
gifify() {
    # Defaults
    local lossy=65 fps=24 width=1000 gamma=1.2

    while [[ $# -gt 0 ]]; do
        case "$1" in
            --lossy) lossy="$2"; shift 2 ;;
            --fps)   fps="$2";   shift 2 ;;
            --width) width="$2"; shift 2 ;;
            --gamma) gamma="$2"; shift 2 ;;
            --help|-h)
              echo "Usage: gifify [--lossy N] [--fps N] [--width N] [--gamma VAL] <input video> <output.gif>"
              echo "Defaults: --lossy 65  --fps 24  --width 1000  --gamma 1.2"
              return 0
              ;;
            --) shift; break ;;
            --*) echo "Unknown option: $1" >&2; return 2 ;;
            *)  break ;;
        esac
    done

    if (( $# < 2 )); then
        echo "Usage: gifify [--lossy N] [--fps N] [--width N] [--gamma VAL] <input video> <output.gif>" >&2
        return 2
    fi

    local in="$1"
    local out="$2"
    local tmp="$(mktemp -t gifify.XXXXXX).gif"
    trap 'rm -f "$tmp"' EXIT

    echo "[gifify] FFmpeg: starting encode → '$in' → temp GIF (fps=${fps}, width=${width})…"
    if ! ffmpeg -hide_banner -loglevel error -nostats -y -i "$in" \
        -filter_complex "fps=${fps},scale=iw*sar:ih,scale=${width}:-1,split[a][b];[a]palettegen[p];[b][p]paletteuse=dither=floyd_steinberg" \
        "$tmp"
    then
        echo "[gifify] FFmpeg failed." >&2
        return 1
    fi

    echo "[gifify] FFmpeg: done. Starting gifsicle (lossy=${lossy}, gamma=${gamma})…"
    if ! gifsicle -O3 --gamma="$gamma" --lossy="$lossy" "$tmp" -o "$out"; then
        echo "[gifify] gifsicle failed." >&2
        return 1
    fi

    local bytes
    bytes=$(stat -f%z "$out" 2>/dev/null || stat -c%s "$out" 2>/dev/null || echo "")
    if [[ -n "$bytes" ]]; then
        local mb
        mb=$(LC_ALL=C printf "%.2f" $(( bytes / 1000000.0 )))
        echo "[gifify] gifsicle: done. Wrote '$out' (${mb} MB)."
    else
        echo "[gifify] gifsicle: done. Wrote '$out'."
    fi
}
This will allow you to easily call it as either gifify <input-filename.mp4> <output-gifname.gif> and default to the values above, or if you want to tweak them you can use any optional parameters with gifify --fps 30 --gamma 1.8 --width 600 --lossy 100 <input-filename.mp4> <output-gifname.gif>.
For instance:
# Using default values we used above
gifify cats.mp4 cats.gif

# Changing the lossiness and gamma
gifify --lossy 30 --gamma 2.2 cats.mp4 cats.gif
Much easier.
May your GIFs be beautiful and efficient.