You should repaste your MacBook (but don't)
July 10, 2025
My favorite memory of my M1 Pro MacBook Pro was the whole sensation of “holy crap, you never hear the fans in this thing”, which was very novel in 2021.
Four years later, this MacBook Pro is still a delight. It’s the longest I’ve ever owned a laptop, and while I’d love to pick up the new M4 goodness, this dang thing still seems to just shrug at basically anything I throw at it. Video editing, code compiling, CAD models, the works. (My desire to update is helped though by the fact I got the 2TB SSD, 32GB RAM option, and upgrading to those on new MacBooks is still eye wateringly expensive.)
But my MacBook is starting to show its age in one area: it’s not quiet anymore.
If you’re doing anything too intensive like compiling code for awhile, or converting something in Handbrake, the age of the fans being quiet is long past. The fans are properly loud. (And despite having two cats, it’s not them! I clean out the fans pretty regularly.)
Enter the thermal paste
Everyone online seems to point toward one thing: the thermal paste on computers tends to dry up over the years.
What the heck is thermal paste? Well, components on your computer that generate a lot of heat are normally made to touch something like a copper heatsink that is really good at pulling that heat away from it. The issue is, when you press these two metal surfaces against each other, even the best machining isn’t perfect and you there’s microscopic gaps between them meaning there’s just air at those parts, and air is a terrible conductor of heat.
The solution is to put a little bit of thermal paste (basically a special grey toothpaste gunk that is really good at transferring heat) between them, and it fills in any of those microscopic gaps.
The problem with this solution is after hundreds and hundreds of days of intense heat, the paste can dry up into something closer to almost a powder, and it’s not nearly as good at filling in those gaps.
Replacement time
MacBook thermal paste isn’t anything crazy (for the most part, see below), custom PC builders use thermal paste all the time so incredibly performant options are available online. I grabbed a tube of Noctua NT-H2 for about $10 and set to taking apart my MacBook to swap out the aging thermal paste. And thankfully, iFixit has a tremendous, in depth guide on the disassembly required, so I got to it.
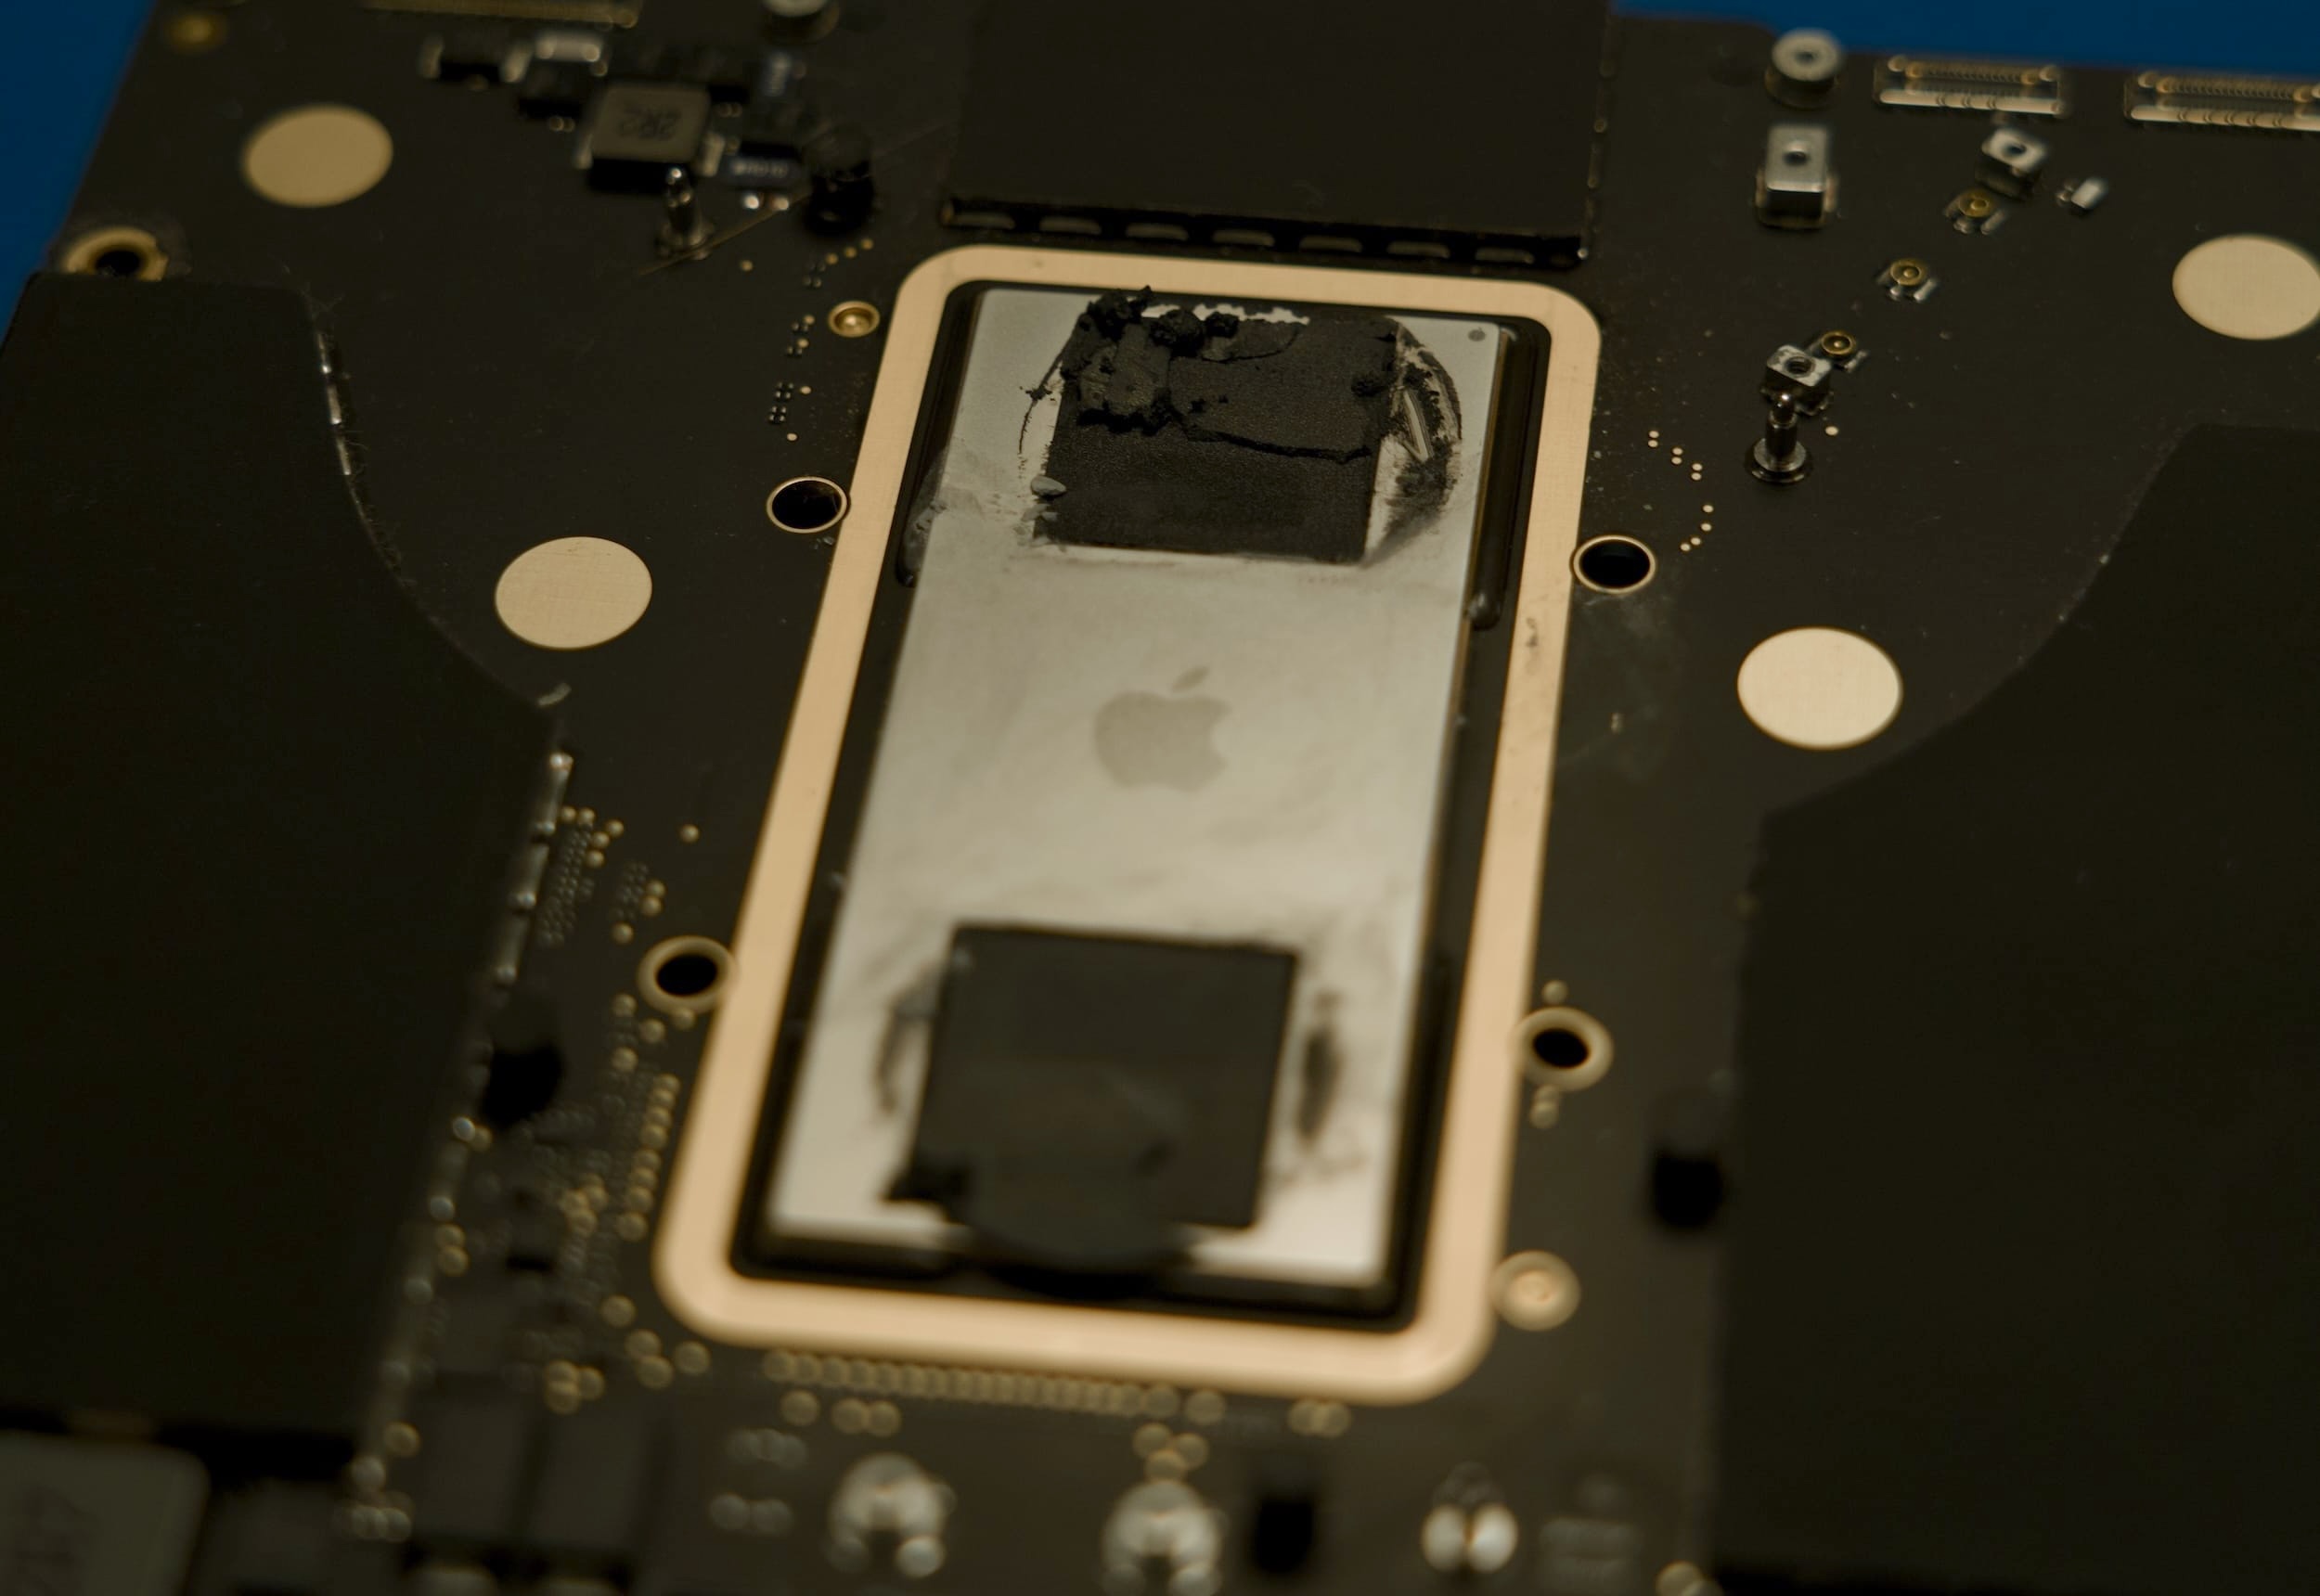
Indeed, that grey thermal paste looked quite old, but also above and below it (on the RAM chips) I noticed something that didn’t quite seem like thermal paste, it was far more… grainy almost?
It turns out, ending with my generation of MacBooks (lucky me!) Apple used a very special kind of thermal compound often called “Carbon Black”, which is basically designed to be able to bridge an even thicker gap than traditional thermal paste. I thought about replacing it, but it seems really hard to come across that special thermal compound (and do not do it with normal thermal paste) and my RAM temperatures always seemed fine (65°C is fine… right?) so I just made sure to not touch that.
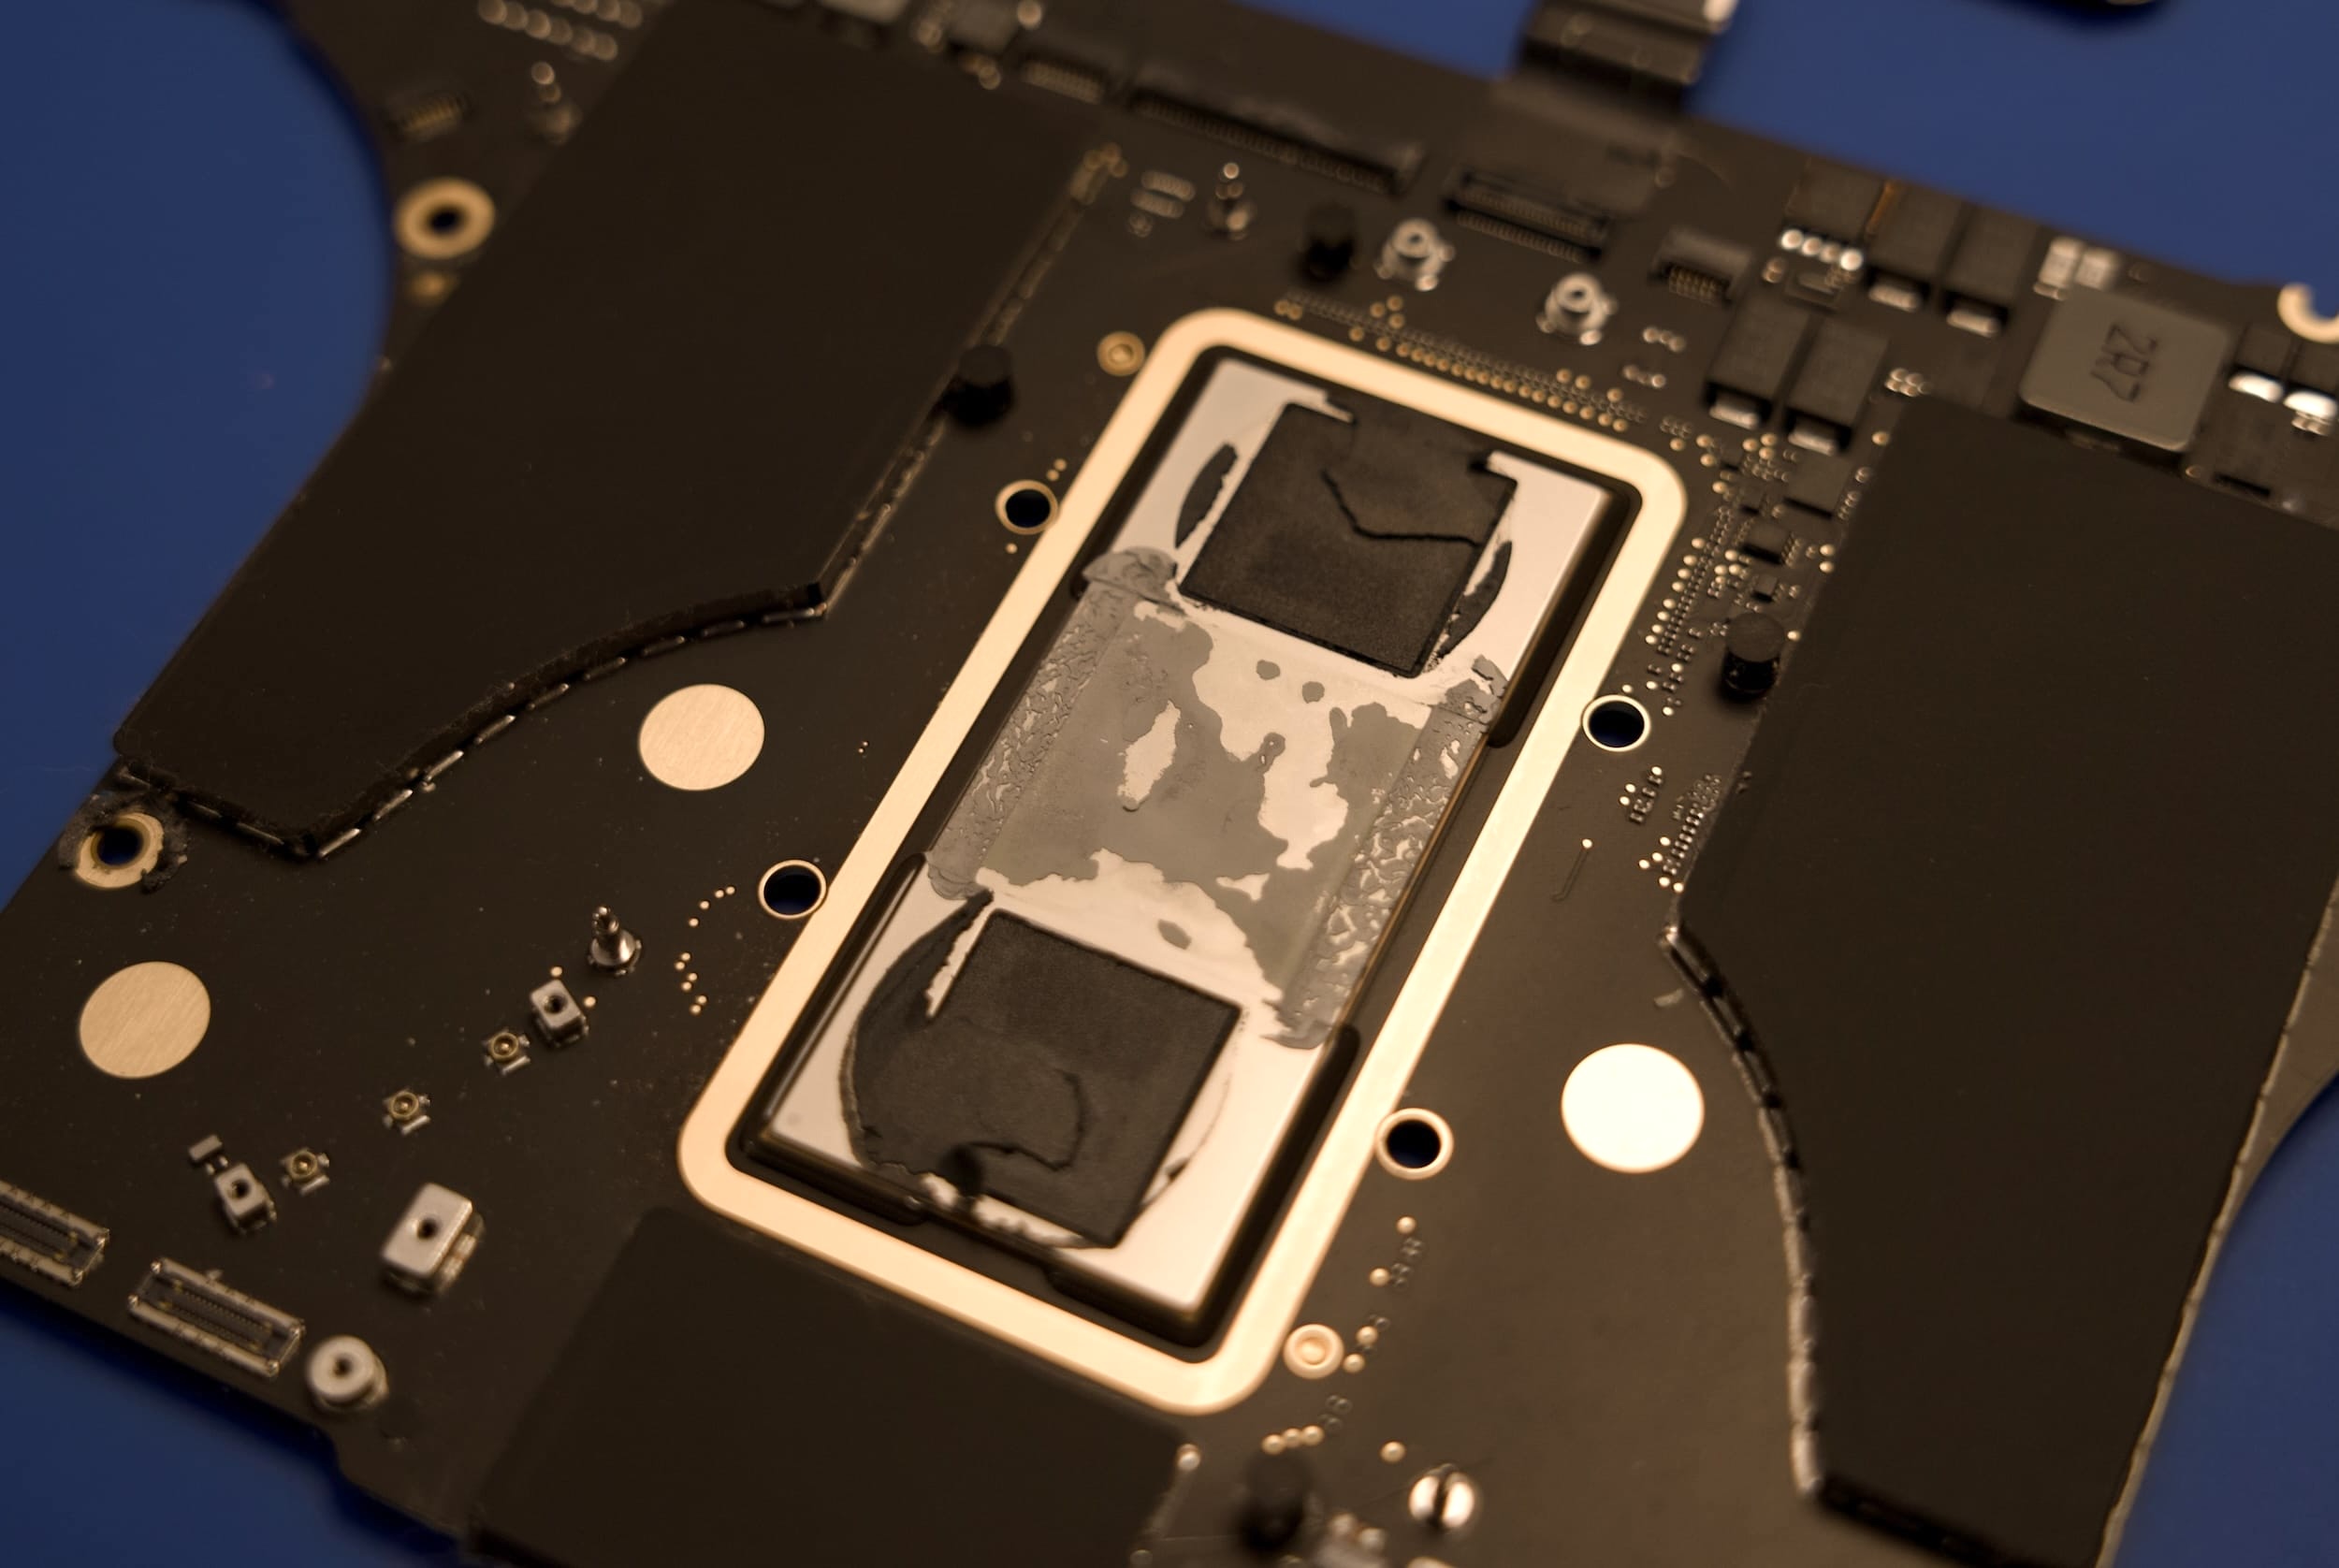
For the regular grey thermal paste, I used some cotton swabs and isopropyl alcohol to remove the dried up existing thermal paste, then painted on a bit of the new stuff.
Disaster
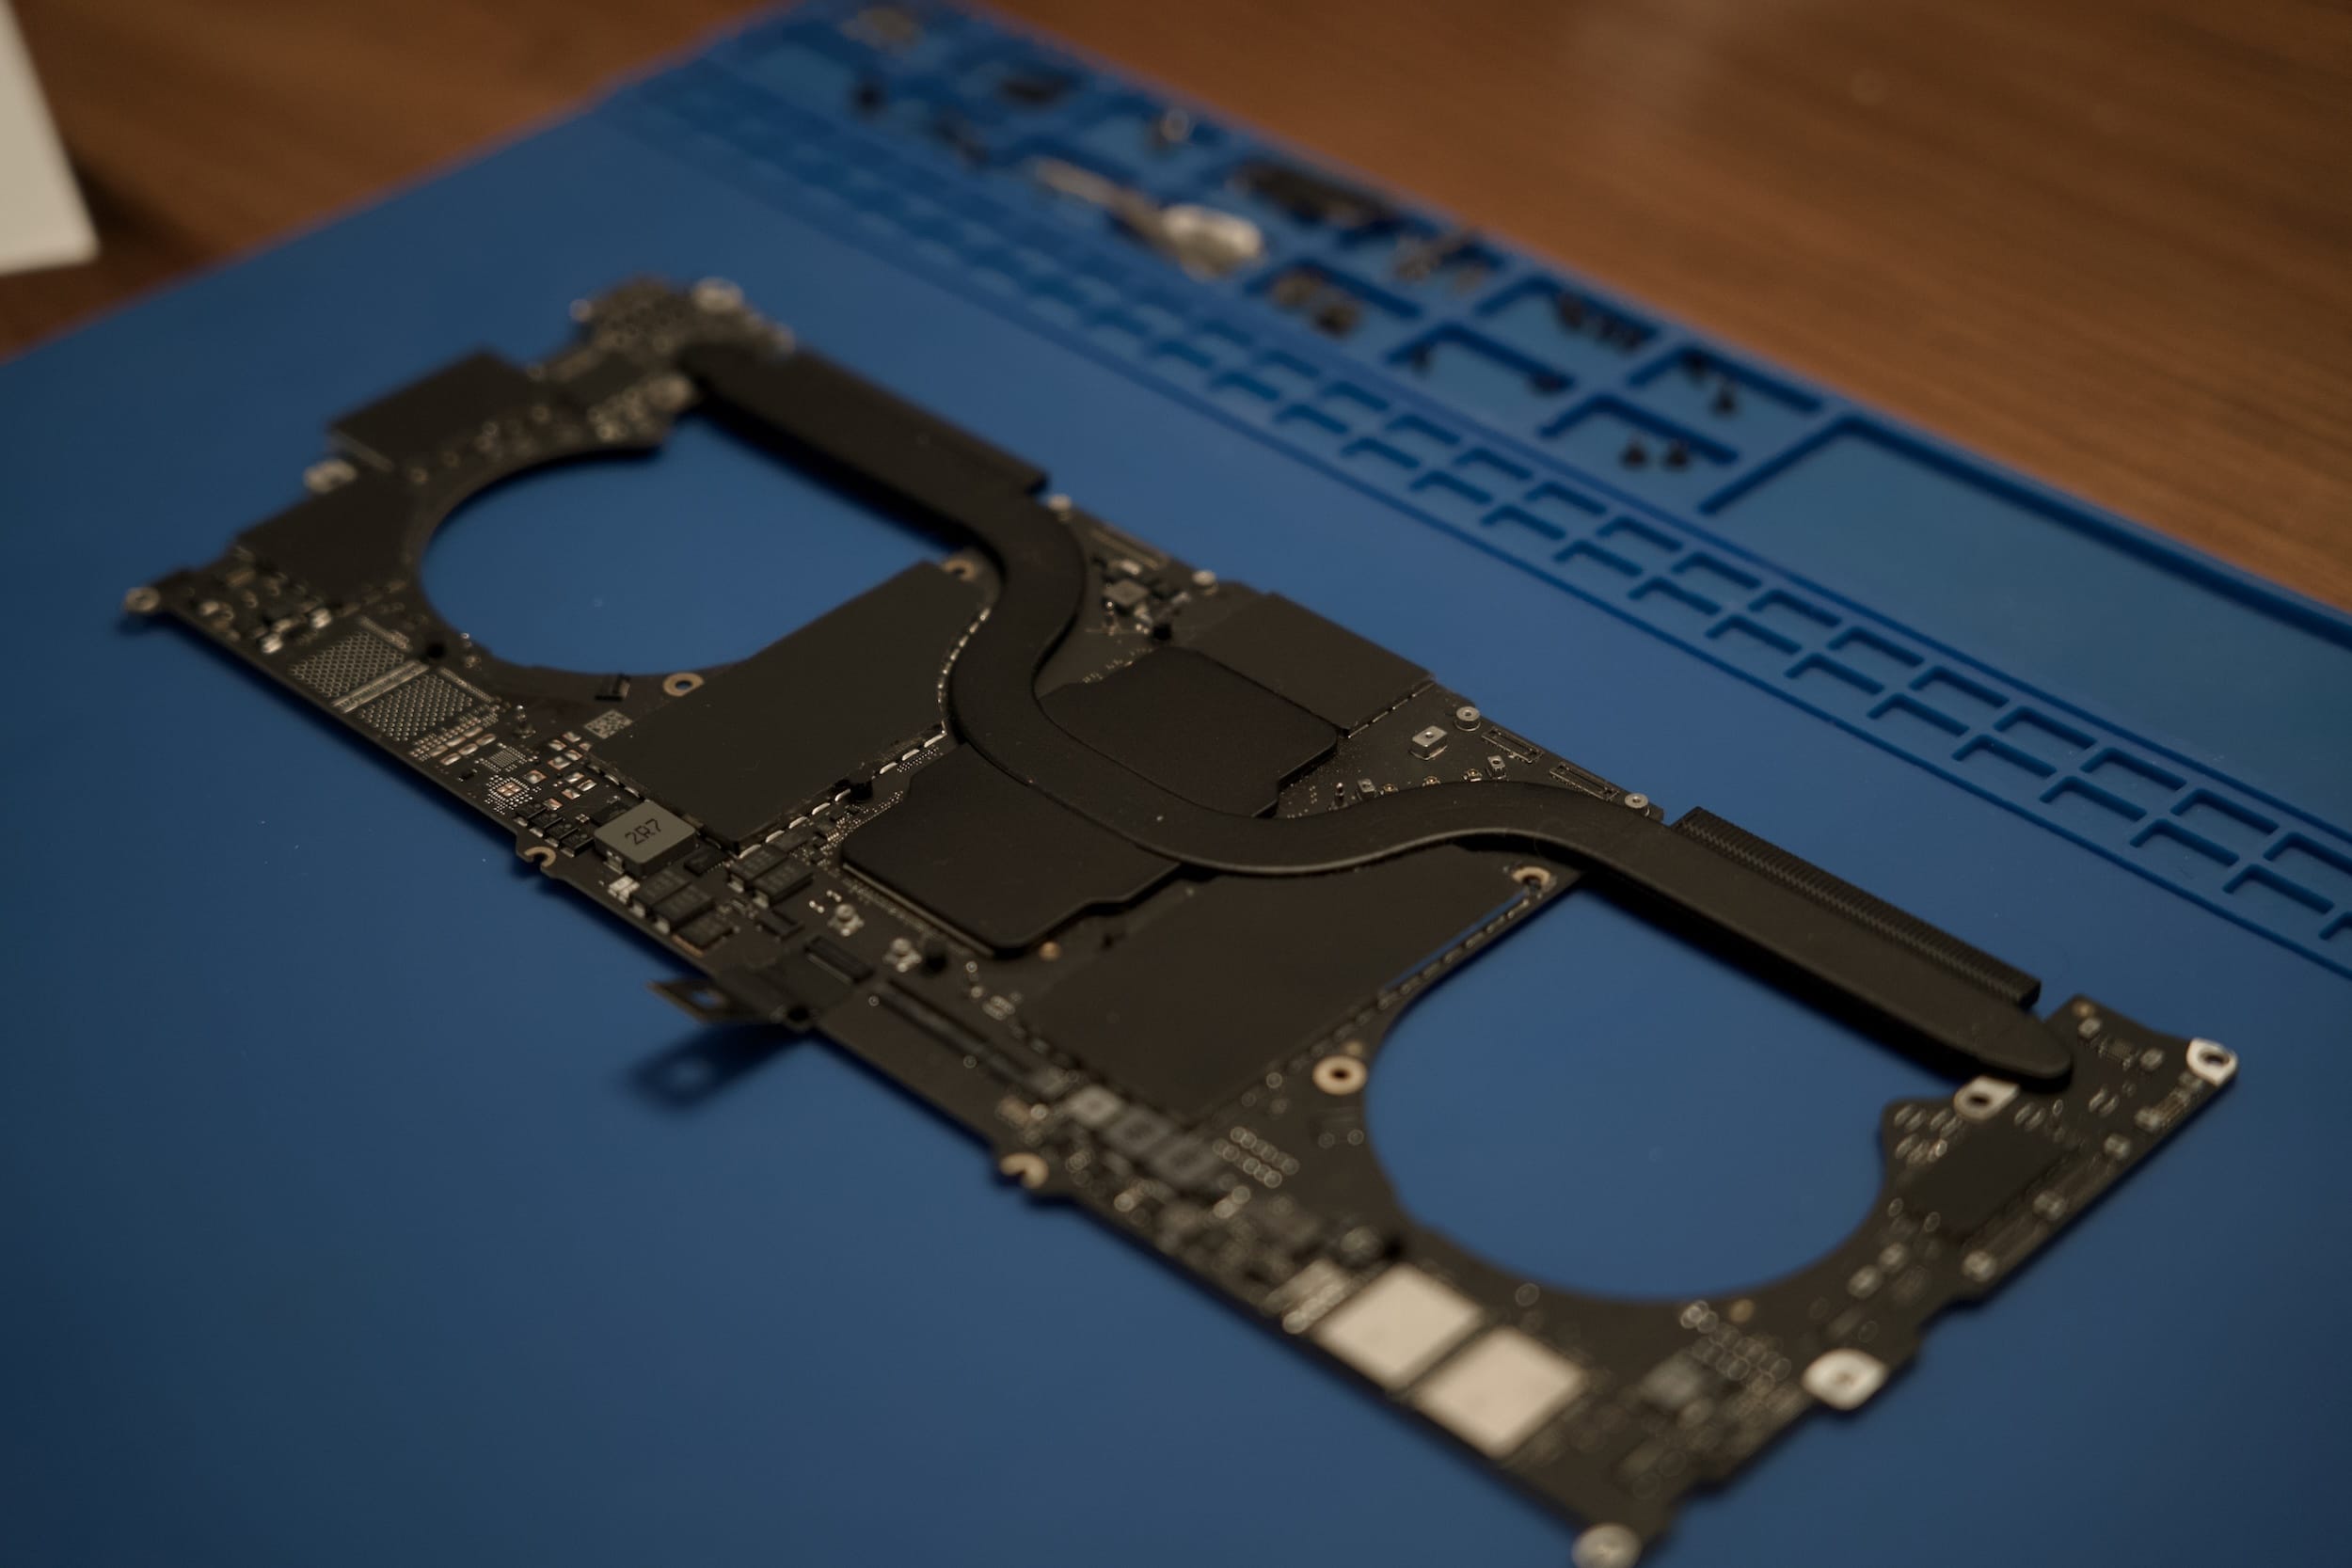
To get to the underside of the CPU, you basically need to disassemble the entire MacBook. It’s honestly not that hard, but iFixit warned that the fan cables (which also need to be unclipped) are incredibly delicate. And they’re not wrong, seriously they have the structural integrity of the half-ply toilet paper available at gas stations.
So, wouldn’t you know it, I moved the left fan’s cable a bit too hard and it completely tore in half. Gah.
I found a replacement fan online (yeah you can’t just buy the cable, need a whole new fan) and in the meantime I just kept an eye on my CPU thermals. As long as I wasn’t doing anything too intensive it honestly always stayed around 65° which was warm, but not terrifying (MacBook Airs completely lack a fan, after all).
Take two
A few days later, the fans arrived, and I basically had to redo the entire disassembly process to get to the fans. At least I was a lot faster this time.

The fan was incredibly easy to swap out (hats off there, Apple!) and I screwed everything back together and began reconnecting all the little connectors.
Until I saw it: the tiny (made of the same half ply material as the fan cable) Touch ID sensor cable was inexpicably torn in half, the top half just hanging out. I didn’t even touch this thing really, and I hadn’t even got to the stage of reconnecting it (I was about to!), it comes from underneath the logic board and I guess just the movement of sliding the logic board back in sheared it in half.

Bah. I looked up if I could just grab another replacement cable here, and sure enough you can… but the Touch ID chip is cryptographically paired to your MacBook so you’d have to take it into an Apple Store. Estimates seemed to be in the hundreds of dollars, so if anyone has any experience there let me know, but for now I’m just going to live happily without a Touch ID sensor… or the button because the button also does not work.
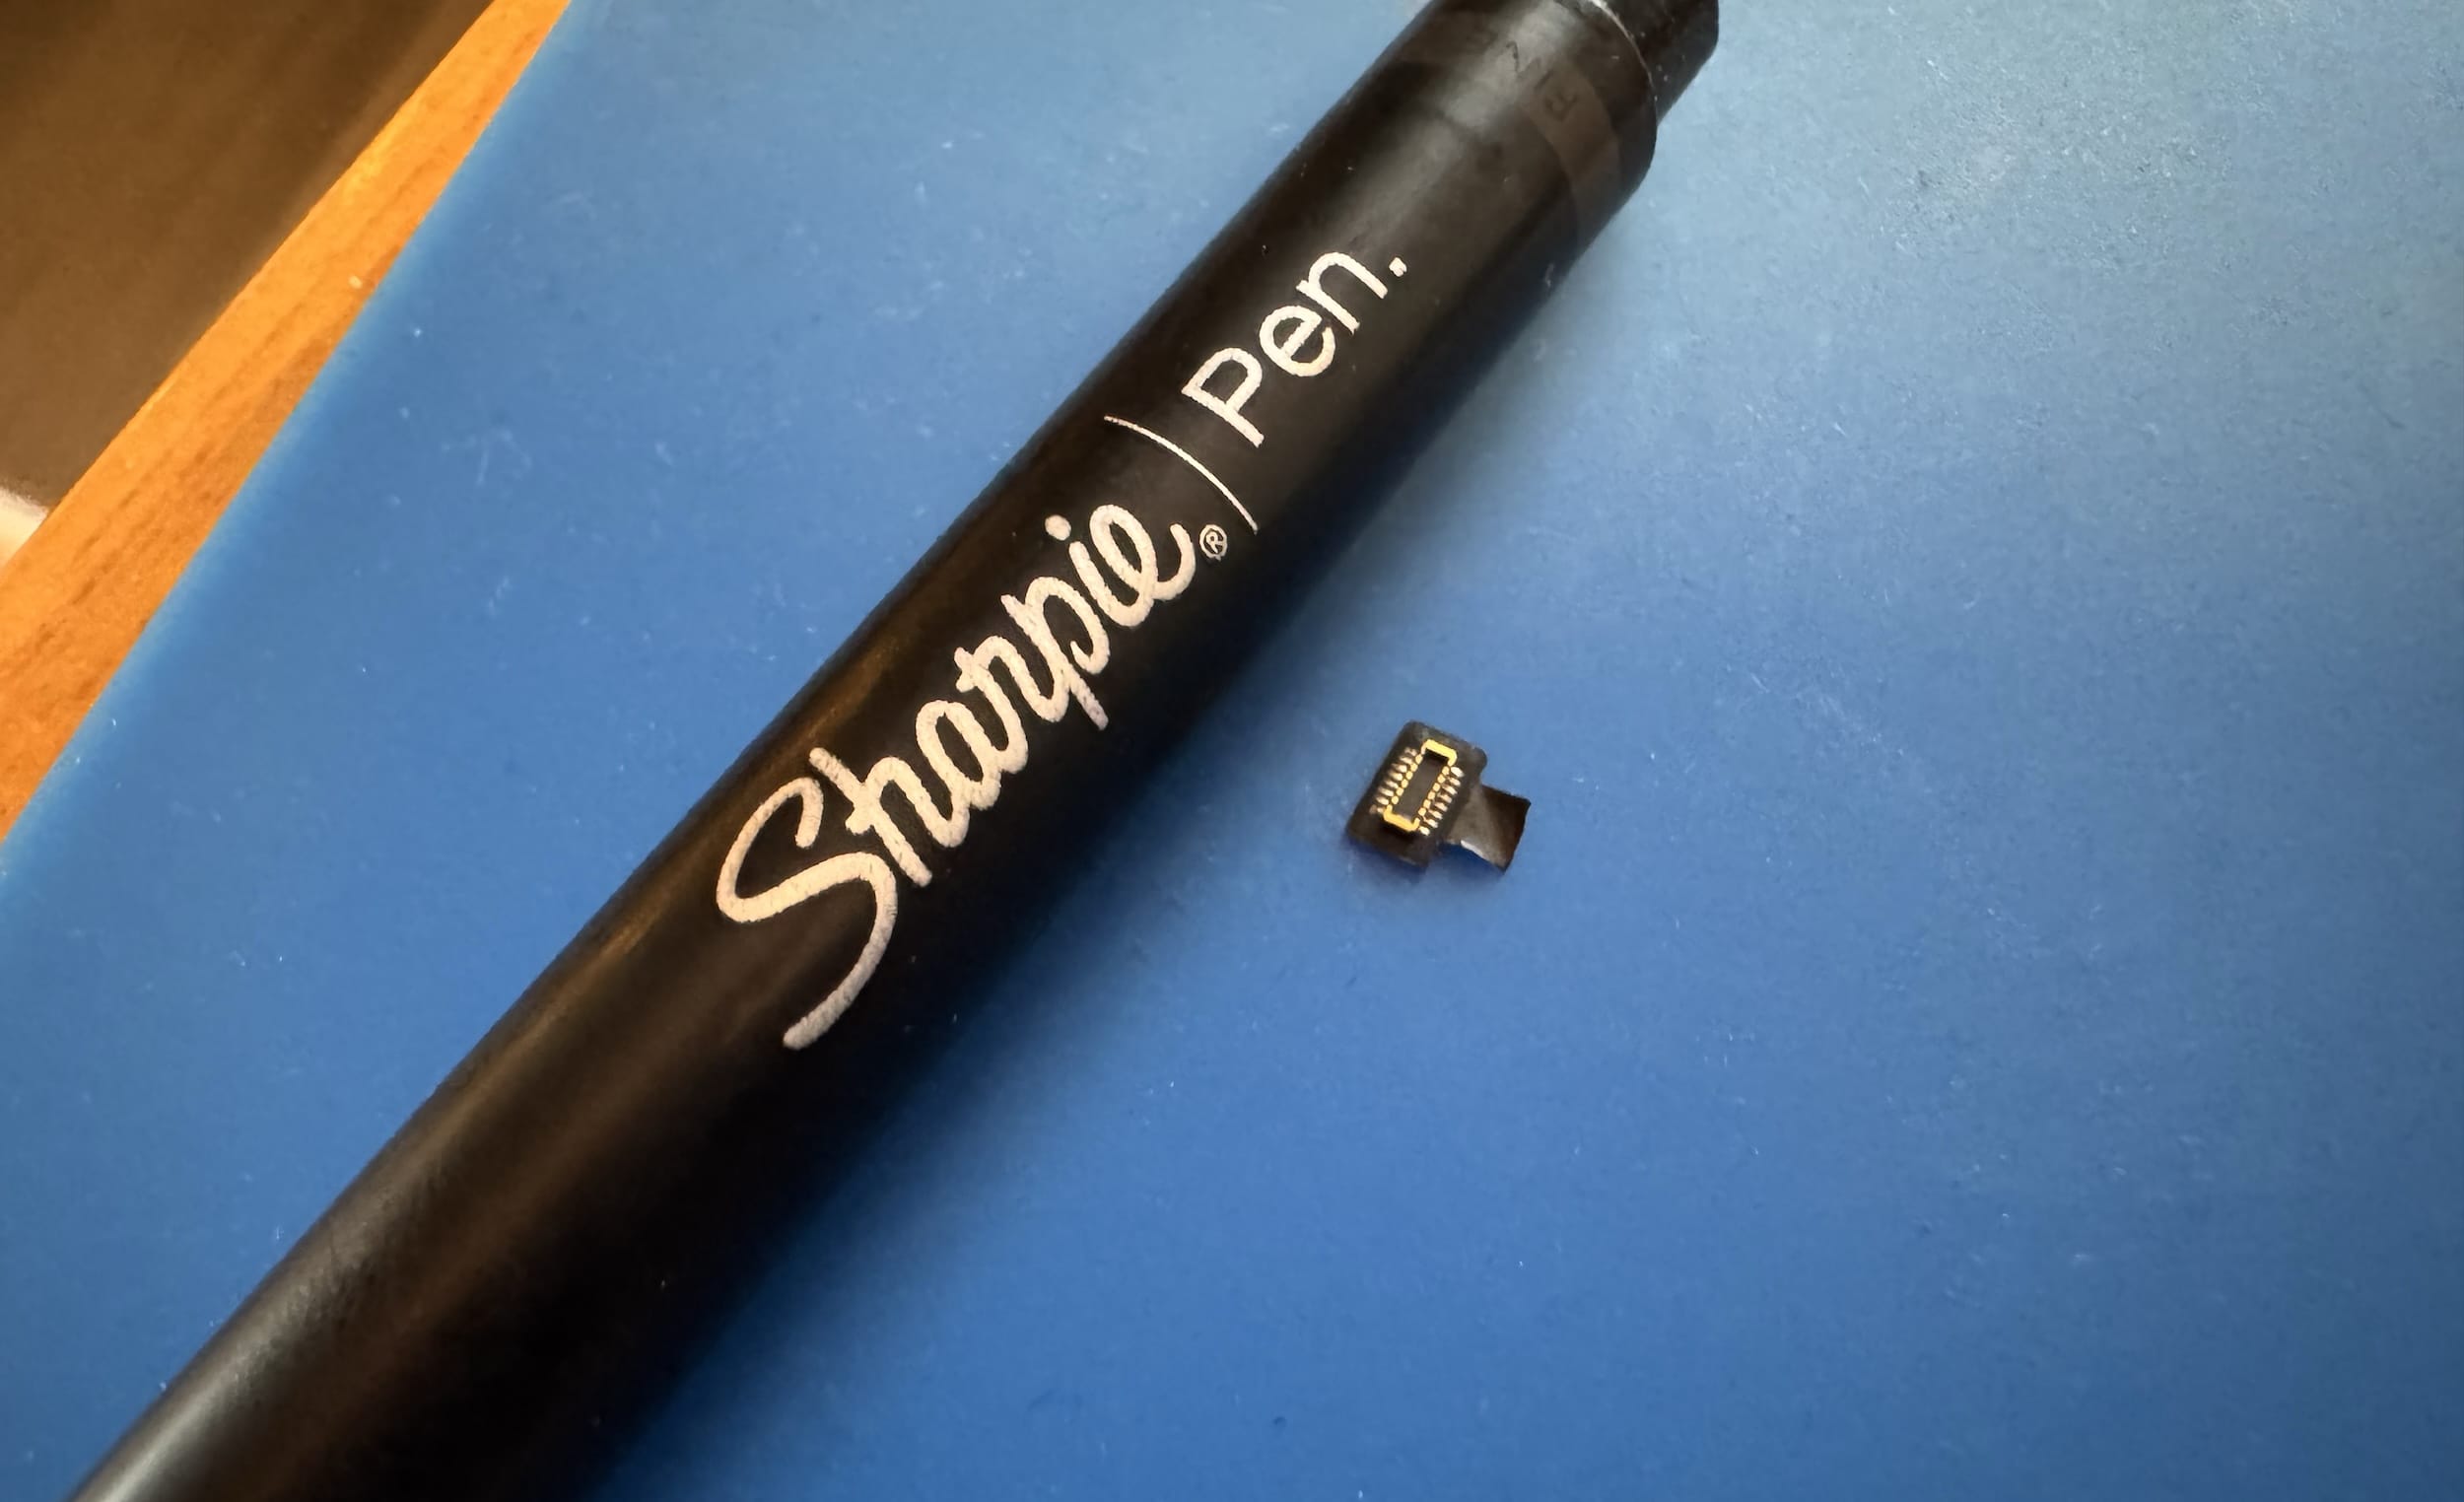
(And yeah I’m 99.9% sure I can’t solder this back together, there’s a bunch of tiny lanes that make up the cable that you would need experience with proper micro-soldering to do.)
Honestly, the disassembly process for my MacBook was surprisingly friendly and not very difficult, I just really wish they beefed up some of the cables even slightly so they weren’t so delicate.
The results
I was going to cackle if I went through all that just to have identical temperatures as before, but I’m very happy to say they actually improved a fair bit. I ran a Cinebench test before disassembling the MacBook the very first time to establish a baseline:
- Max CPU temperature: 102°C
- Max fan speed: 6,300 RPM
- Cinbench score: 12,252
After the new thermal paste (and the left fan being new):
- Max CPU temperature: 96°C
- Max fan speed: 4,700 RPM
- Cinbench score: 12,316
Now just looking at those scores you might be like… so? But let me tell you, dropping 1,600 RPM on the fan is a noticeable change, it goes from “Oh my god this is annoyingly loud” to “Oh look the fans kicked in”, and despite slower fan speeds there was still a decent drop in CPU temperature! And a 0.5% higher Cinebench score!
But where I also really notice it is in idling: just writing this blog post my CPU was right at 46°C the whole time, where previously my computer idled right aroud 60°C. The whole computer just feels a bit healthier.
So… should you do it?
Honestly, unless you’re very used to working on small, delicate electronics, probably not. But if you do have that experience and are very careful, or have a local repair shop that can do it for a reasonable fee (and your MacBook is a few years old so as to warrant it) it’s honestly a really nice tweak that I feel will hopefully at least get me to the M5 generation.
I do miss Touch ID, though.