The Fitbit Air is interesting
June 2, 2026
The Apple Watch is one of the most fascinating pieces of modern technology for me. A gorgeous screen, an abundance of sensors, and a bonkers amount of computational power in a tiny little package that fits on your wrist. It reminds me of the Vision Pro in that a good amount of the time I put it on I can’t help but smile at how far technology has come.
But it’s also weirdly something I’ve never used a great deal. Every few generations I buy a new one and try it out for a few weeks, but I inevitably run into a few speed bumps:
- I just fundamentally don’t love notifications being an even more prevalent part of my life than they already are
- I’m not a fan of having another device to charge daily or near daily
- While I love wearing a cool mechanical watch from time to time, I’m not a fan of having something substantial on my wrist most days. I can’t help but notice it all the time (forget sleeping in it). Personality quirk I suppose
So ultimately I end up just putting it on for sports (go volleyball!) and leaving it on the charger the rest of the time, hoping one day for a device that’ll be a better fit.
There’s a new wearable in town
A few weeks ago a bunch of YouTube videos popped up showcasing a new wearable device: the Fitbit Air. I initially brushed it off assuming it would be mostly for Android users (as Google now owns Fitbit) and there wouldn’t be much possible for iOS integration. Talking to some people though, I learned there’s an iOS app that actually integrates things pretty well (its feature subset is a lot smaller than something like a smartwatch that would require a lot deeper OS integration).
So now I’m listening. On paper, it provides a bunch of handy sensors, a week of advertised battery life, all in a package that is really low profile on the wrist.
Okay, you have my interest. That was enough for me to head over to Best Buy on launch day to pick one up. (They were almost completely sold out, so there’s clearly some interest for this thing.)
The hardware
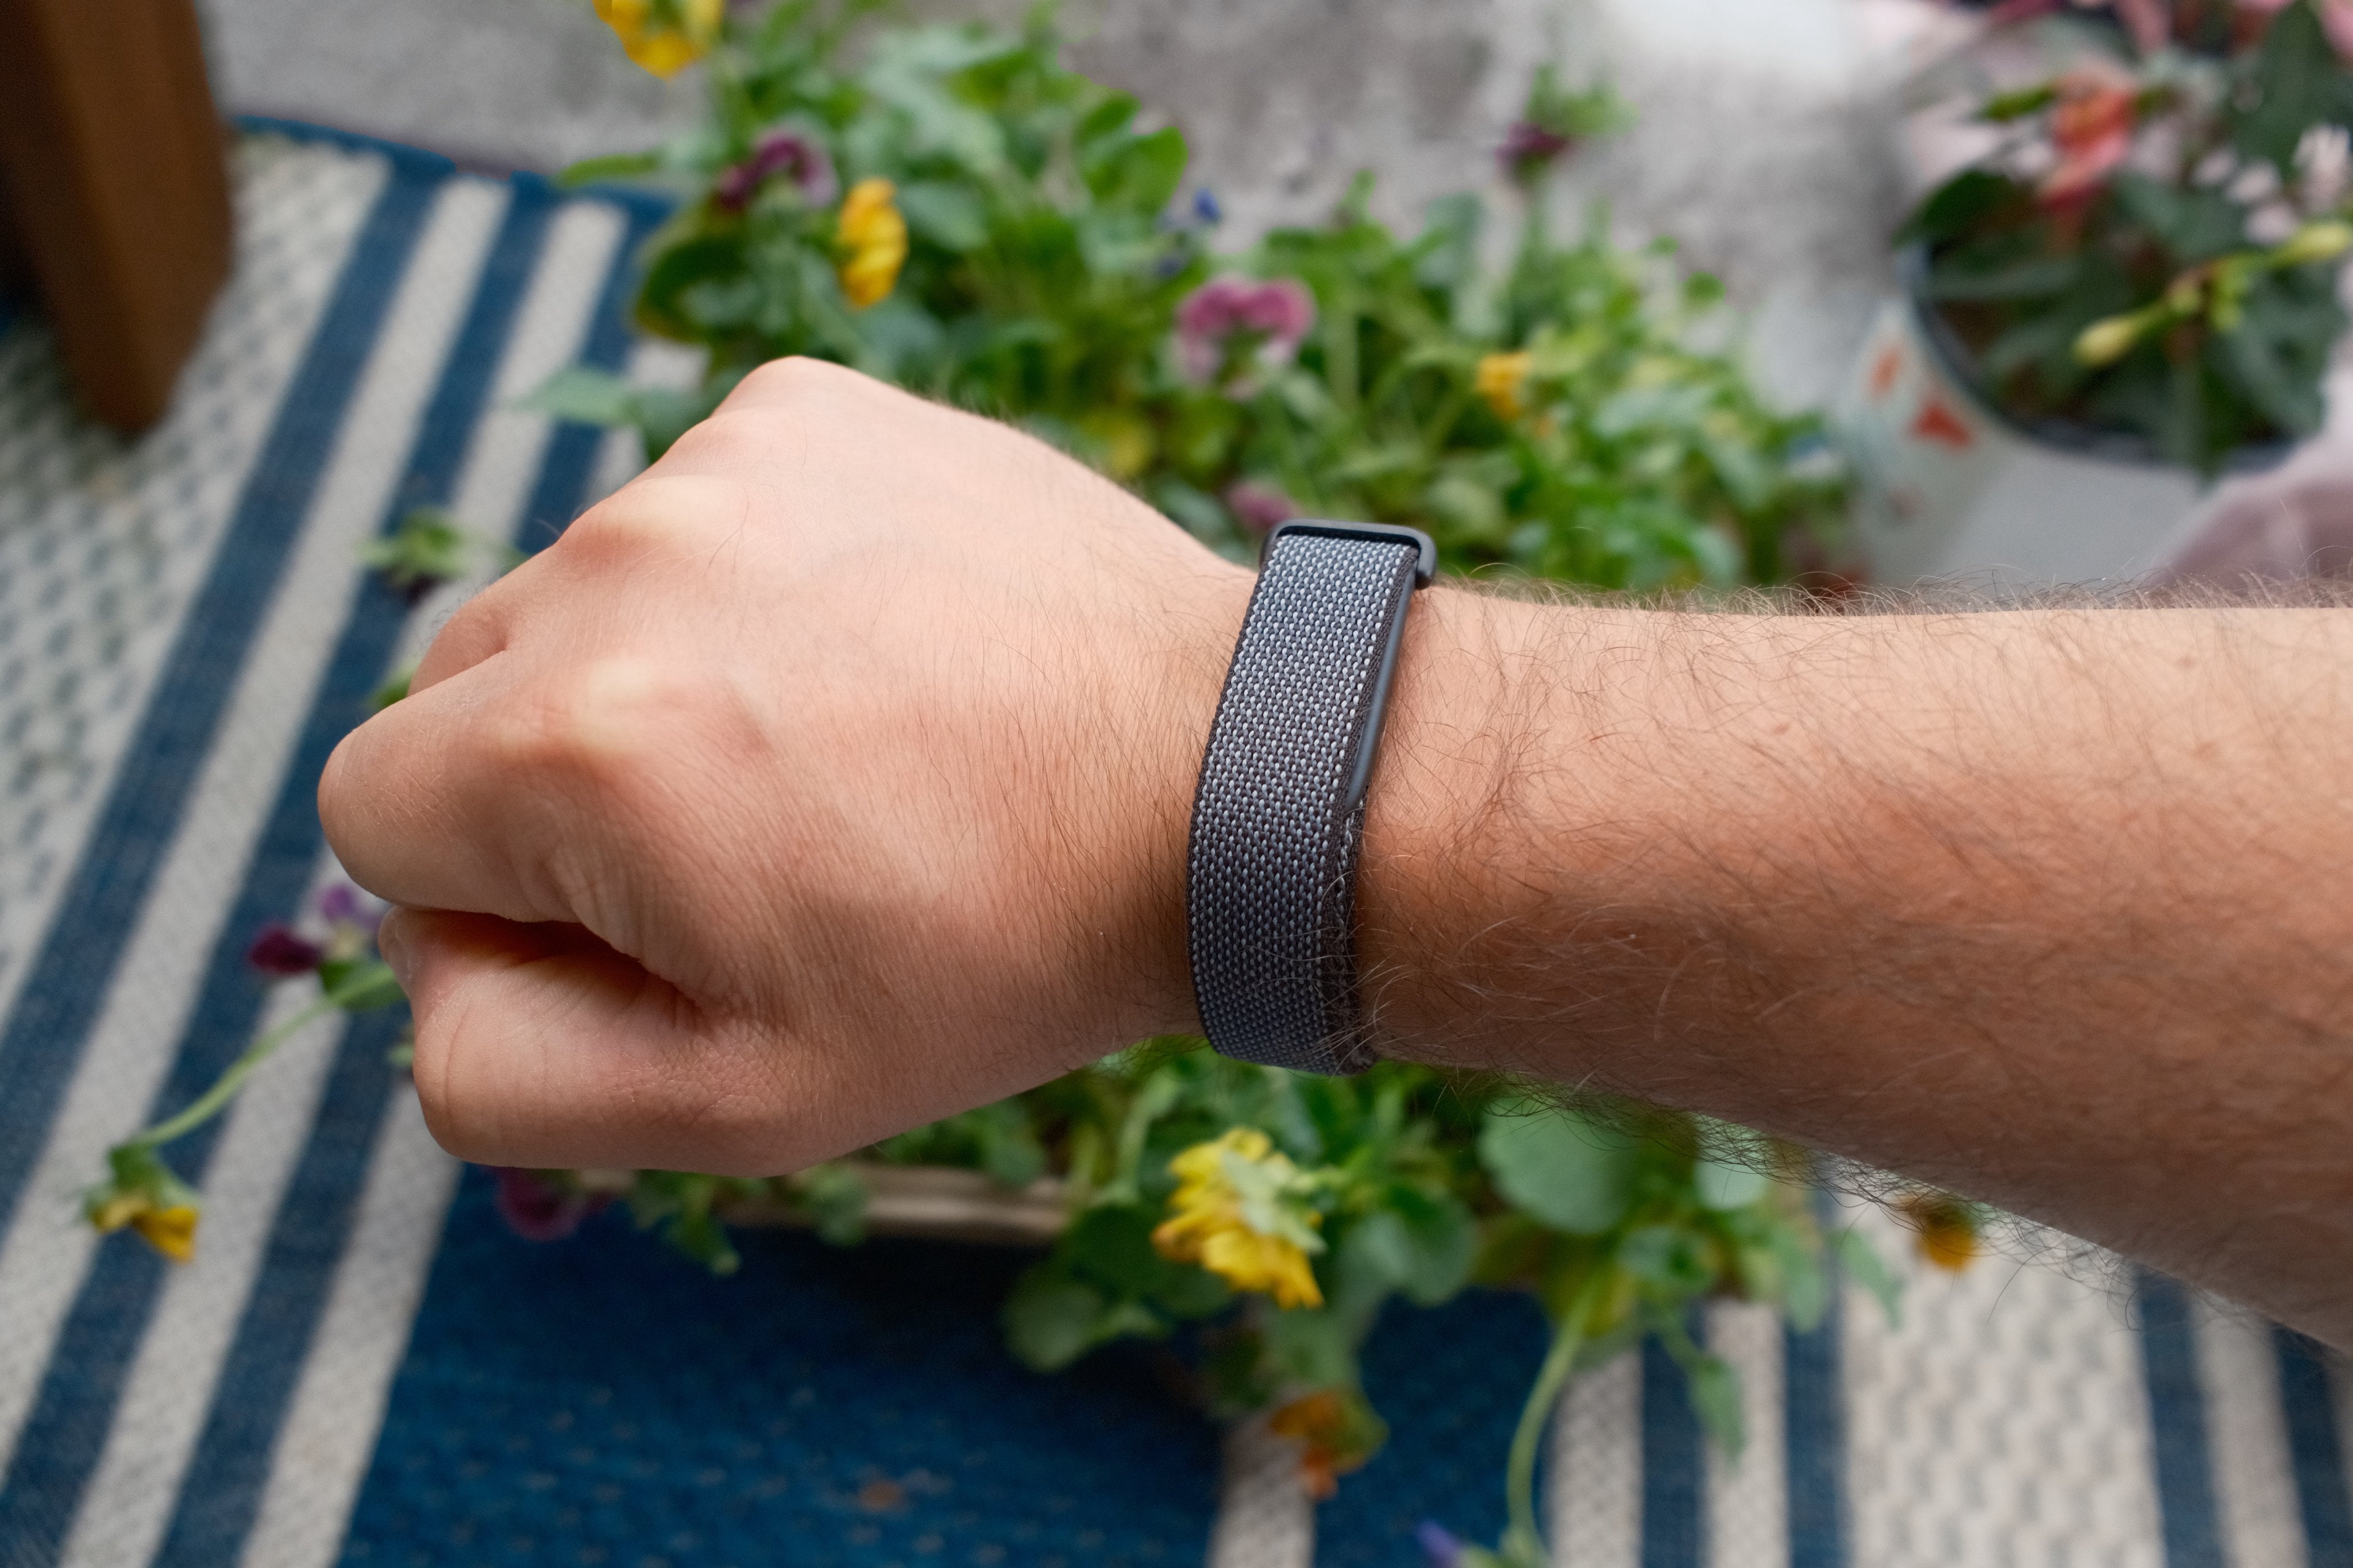
It’s a bit bigger than it looks like in pictures, but it’s absolutely tiny compared to any smartwatch. It’s just small and sleek enough that I barely notice it’s there, sometimes I even catch myself wondering if I accidentally took it off, which is a great sign. First wearable I’ve been able to sleep in without a worry.
The actual “unit” is just a little rock sized device that slips into one of a few different bands. I have the default “obsidian” colorway and really like it visually; it has a nice style while also not being loud whatsoever, but there’s a variety of bands (and presumably more cool ones to come from the community) you can choose from.
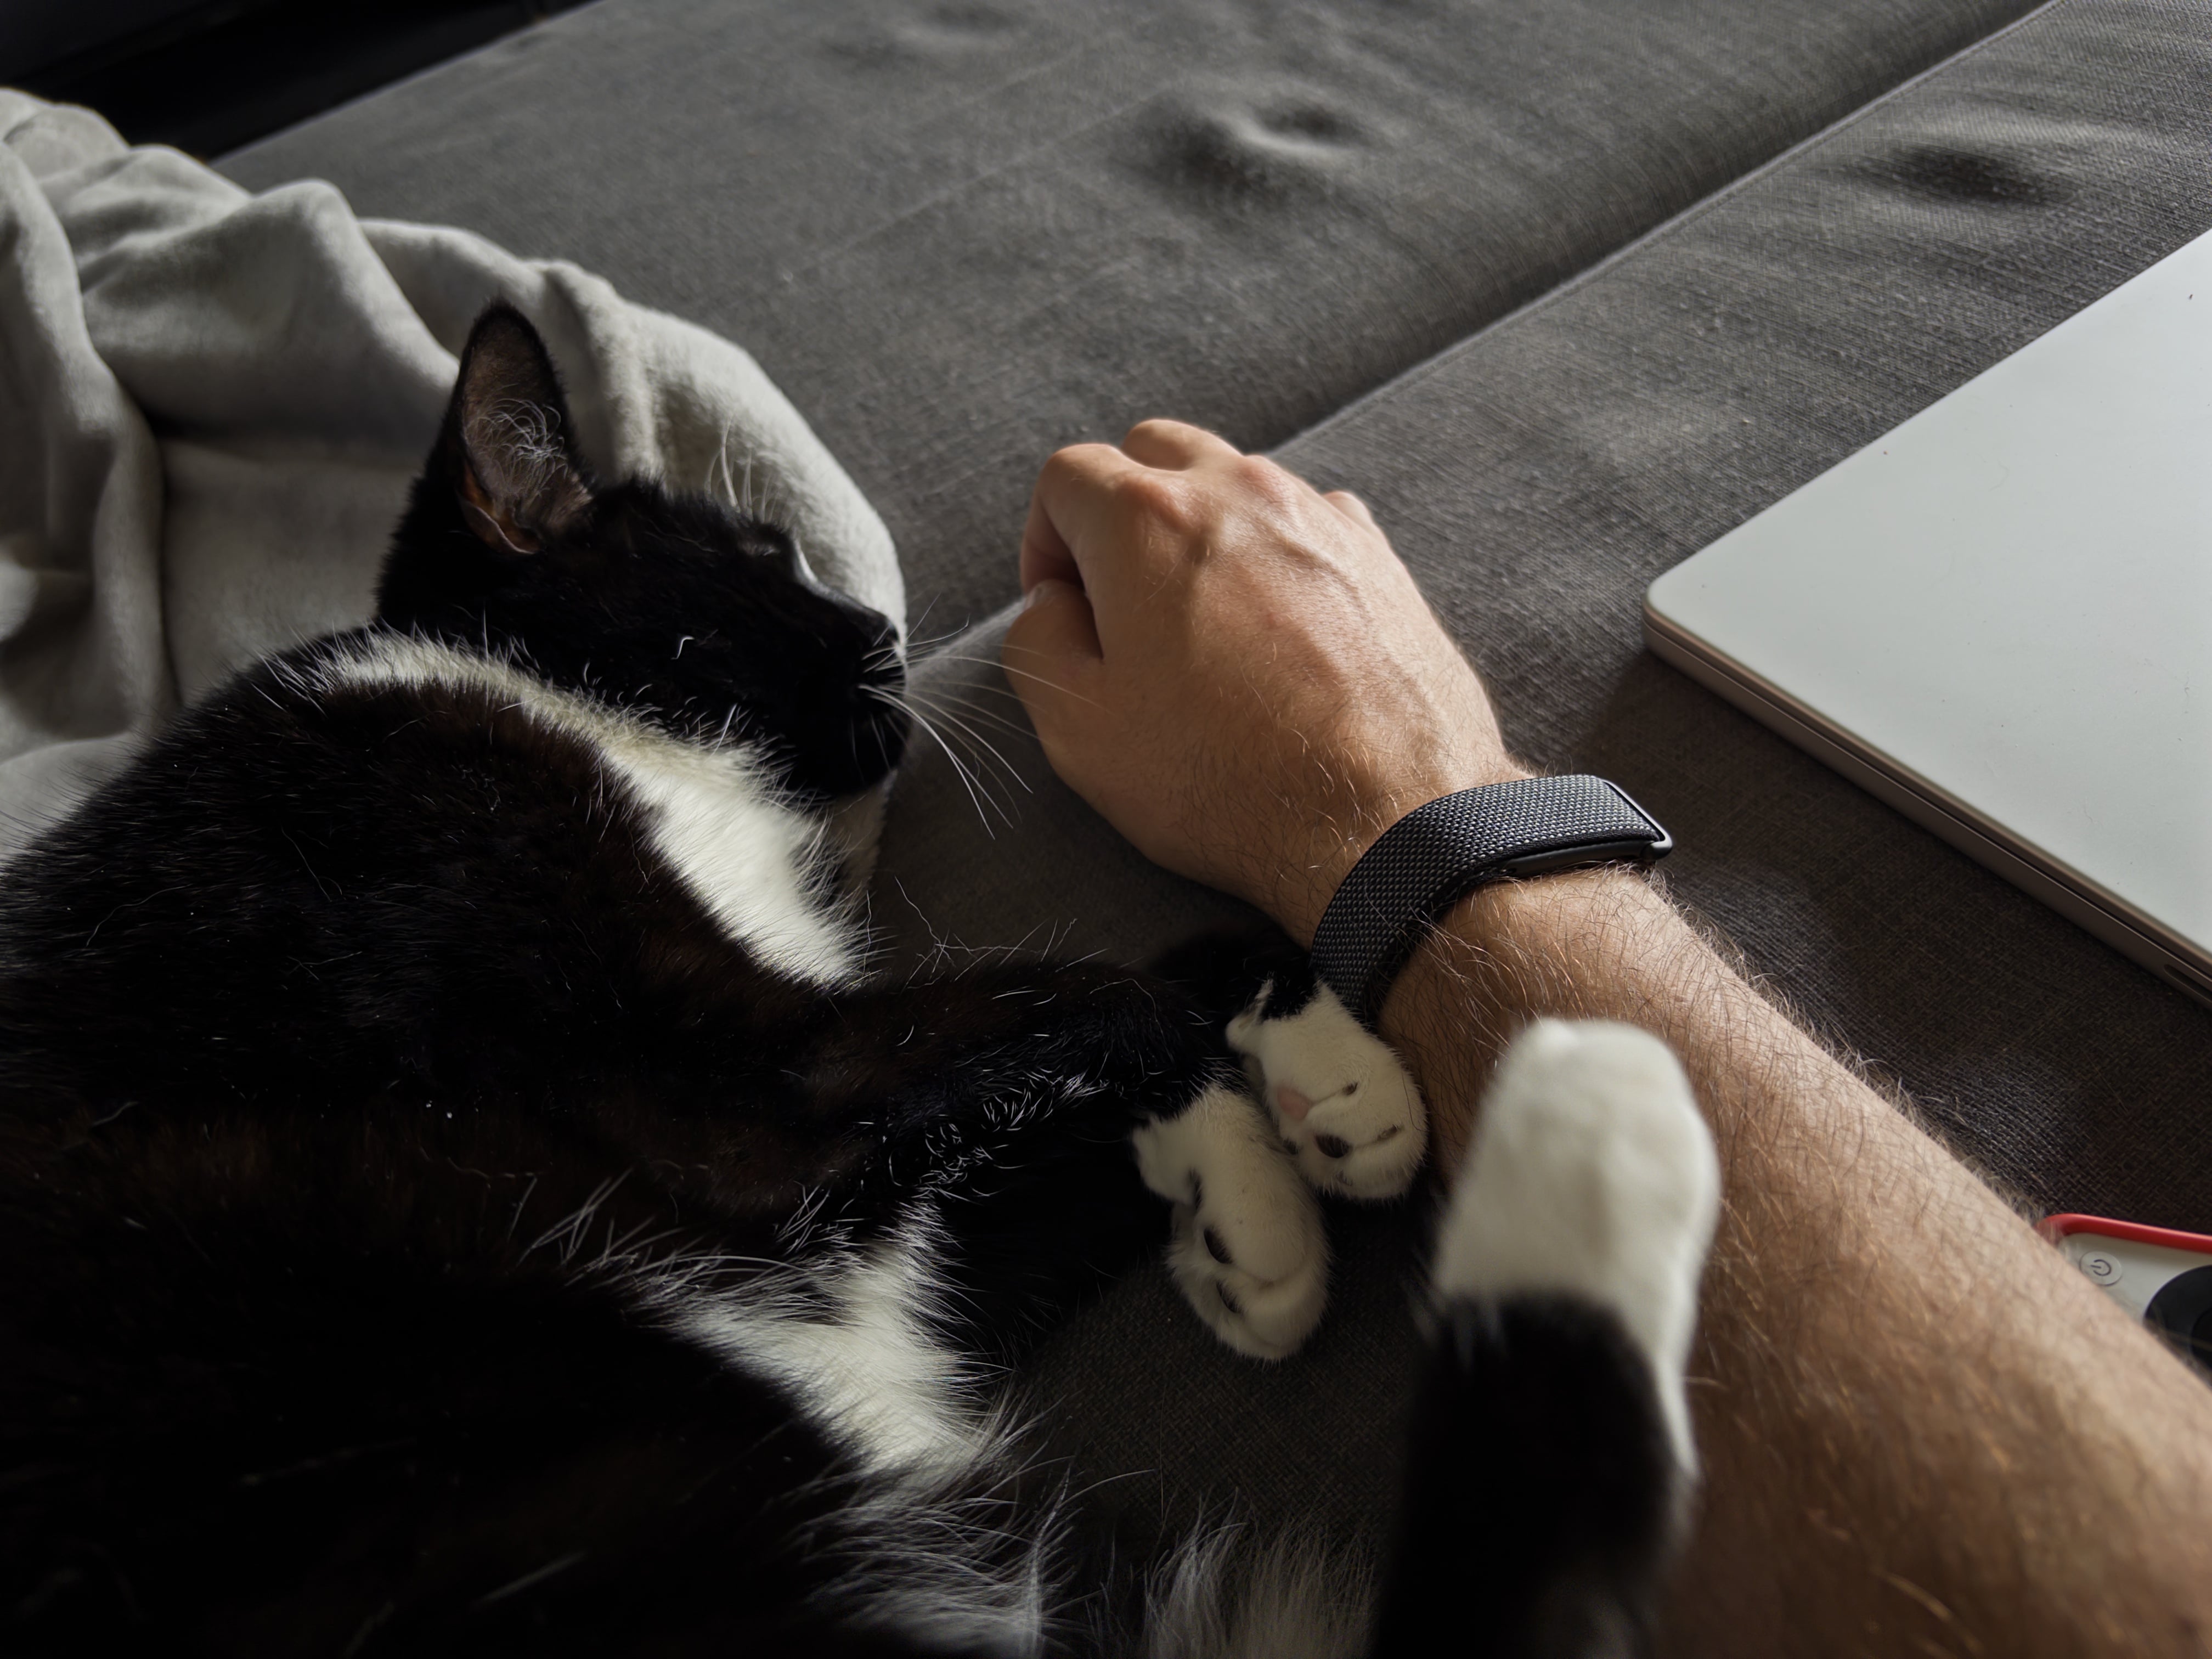
I’ve played a few sweaty sports in it, and done a bunch of yardwork, and the band holds up better than I thought it would for fitness activities, it really seems like the default band is one you can get away with using for a variety of activities.
Battery
The claim is a week of battery life. Charging that infrequently sounds really awesome (imagine if phones could do that!) so I was really hoping that would be the reality. And indeed, it seems to be! From my estimates I’m losing around 10% per day, so a week should be pretty easy to hit.
It also charges up quite quickly. I don’t really love the idea of wearing it into the shower, so that’s a great time for me to take it off to charge, and in a 15 minute shower it charged from 44% to 85%, so taking it off for a quick charge while showering seems like a great way to keep it always topped off.
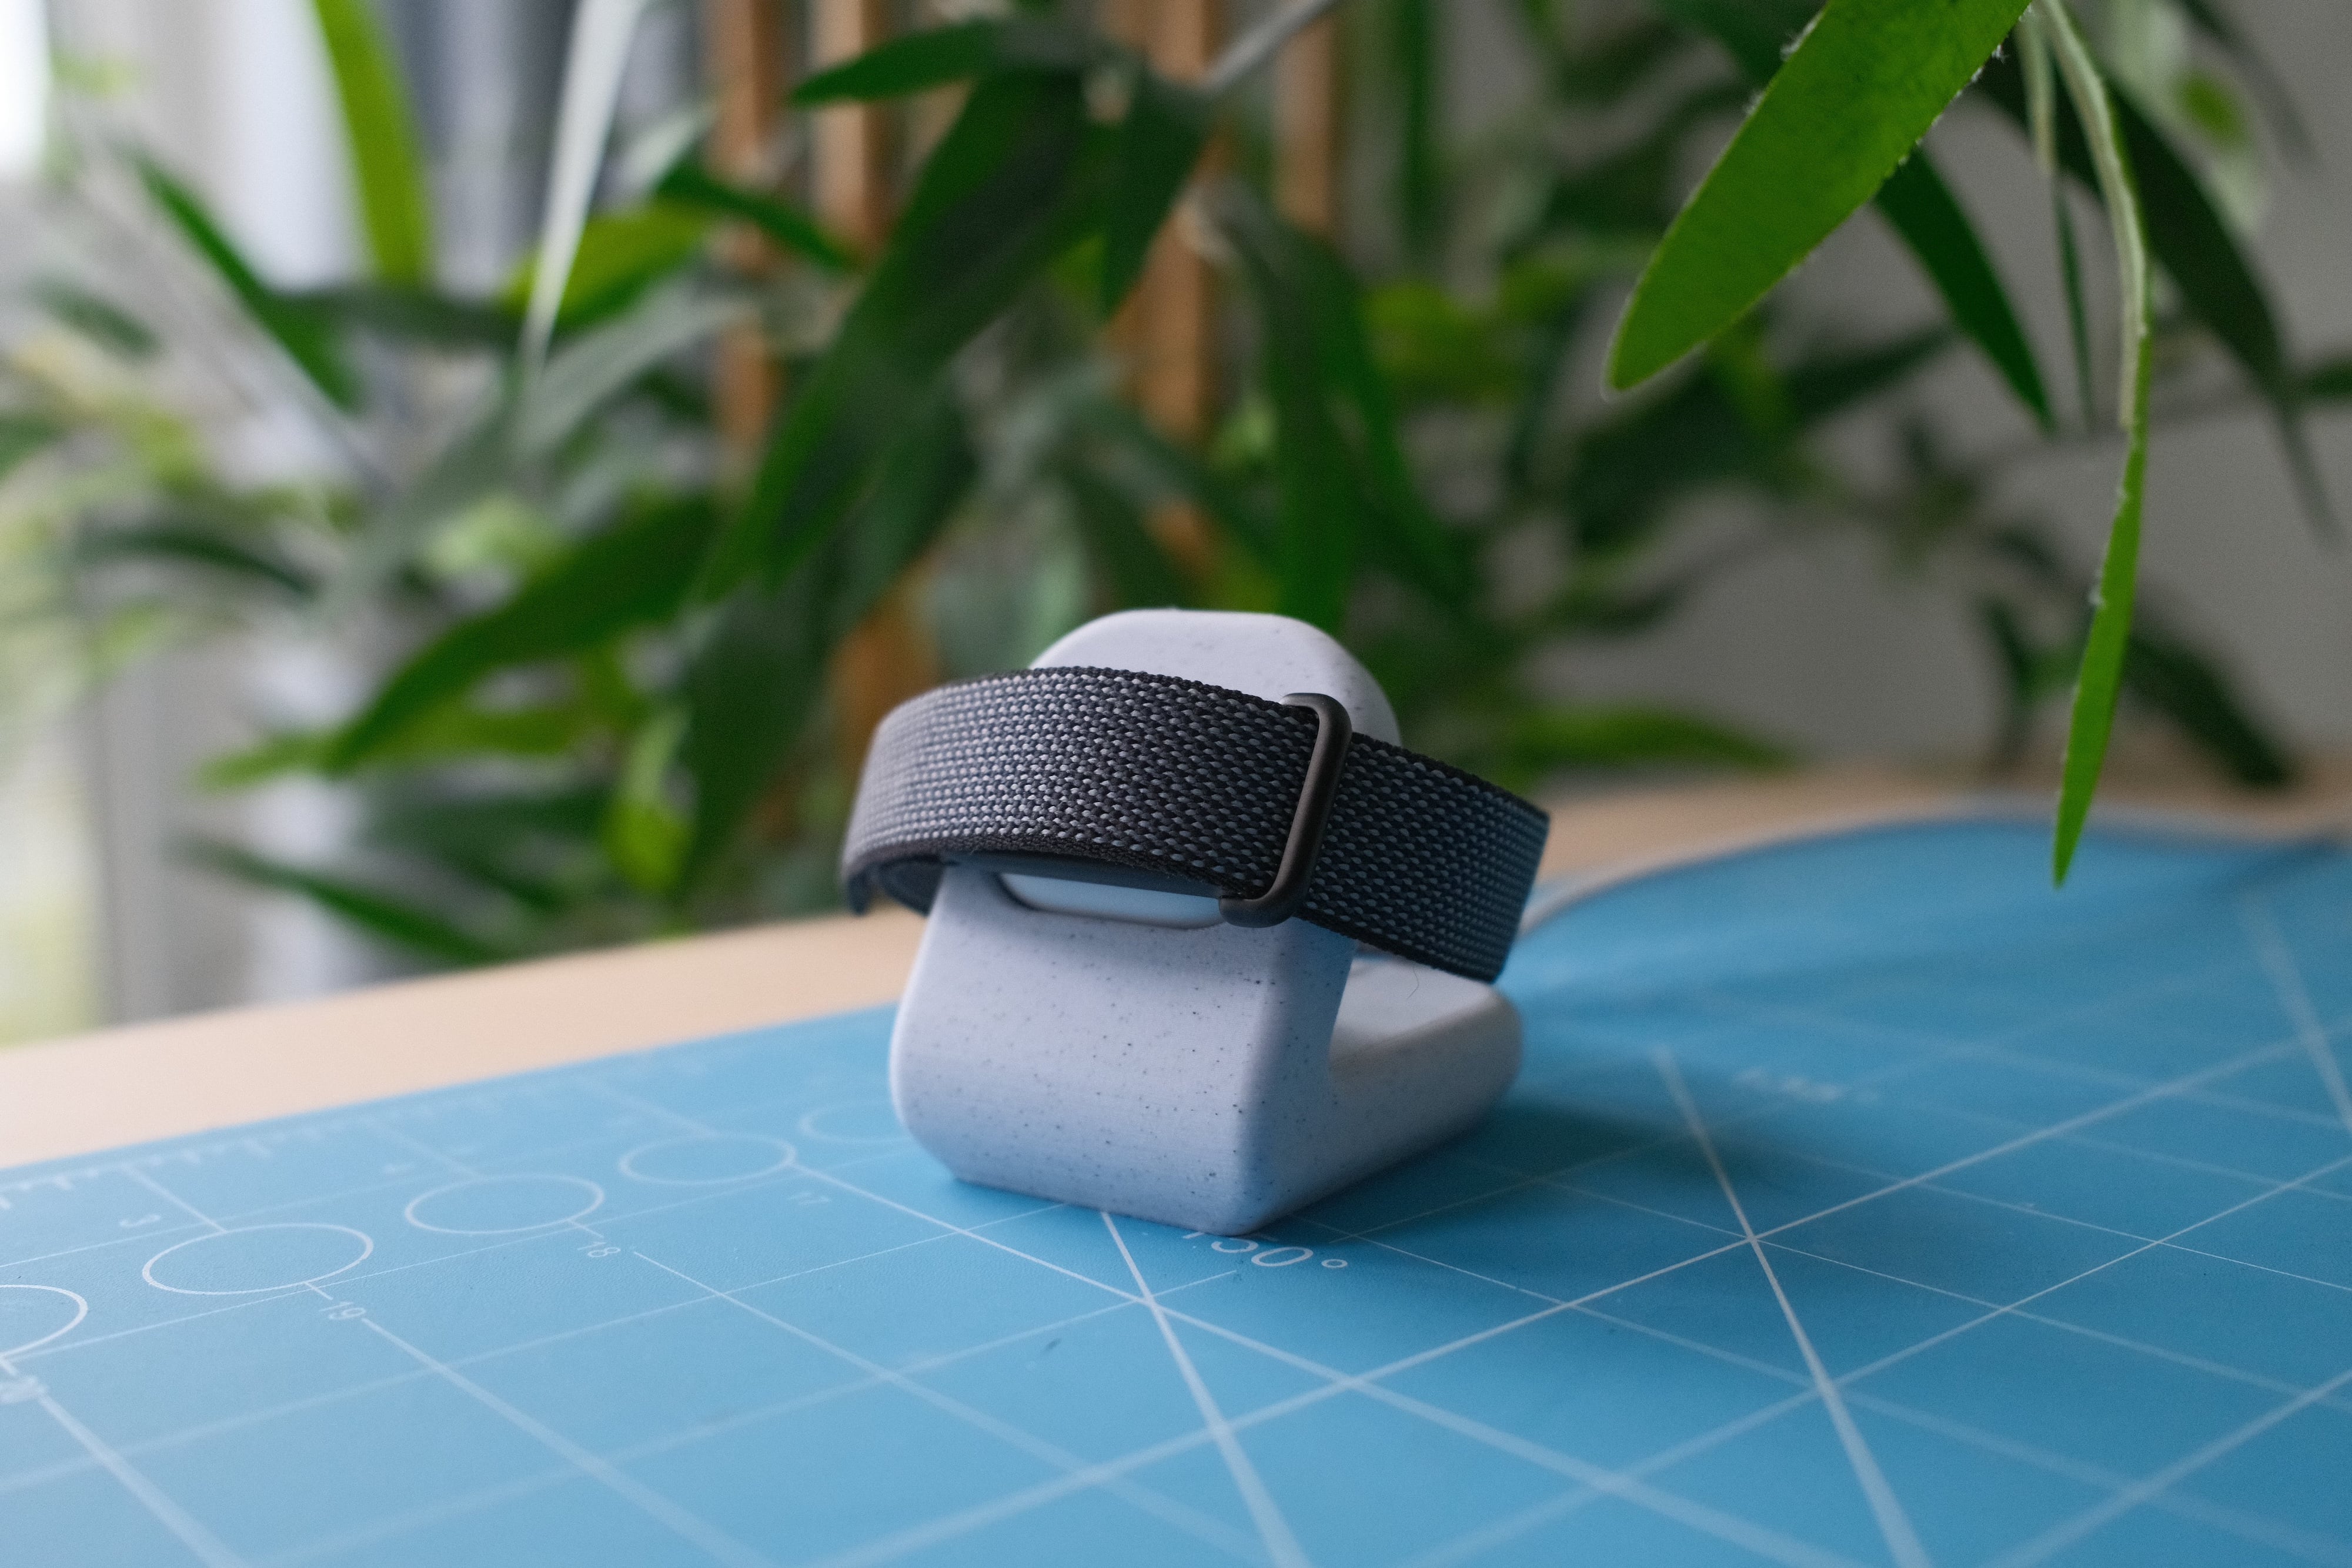
The only missing part of the charging story is a decent charging stand. By default the device connects with a little magnetic Apple Watch style charger, but I kinda want a way to just plunk it down on my nightstand into something and was kinda surprised Google doesn’t immediately have an accessory for that. To remedy this I made a quick little 3D printable stand that came out quite nice if I do say so myself! Download link if you want to grab it.
The Google Health app
The Google Health app itself is probably the most disappointing part of the equation, and a real head scratcher overall. It’s not like, offensively bad, it’s just very mediocre and I’m not sure why they didn’t delay the launch a month or something just to work on the app a bit longer.
There’s two main issues. The first is that it’s just really buggy. Sometimes tapping things does nothing, my sleep score almost always states “unable to record” until I sign in and out, at which point it’s magically available.
The other is the design. I’m not the biggest fan of Google’s software design but even this is just so boringly bland, half the time it feels like an old HTML website where the CSS didn’t load. It is so aggressively bland that it’s almost depressing. Things pop in and out like janky web views when loading. Sections just seem to bleed into each other with no solid information hierarchy (especially the AI assistant stuff). Things are aligned inconsistently. Then again, I have similar complaints about the Gmail iOS app so maybe this is just Google’s design language as a whole?
The other part is just bizarre design functionality decisions, like when selecting a workout there’s a ton of activities listed from biking to swimming to golf to tennis, if you’re looking for a specific sport, you’ll never find it, you just have to select “Sport” (aren’t tennis and golf sports??), and then after the workout is finished you can classify it as basketball, volleyball, soccer, etc. Why not just be like the Apple Watch where you can select, I dunno, the sport?
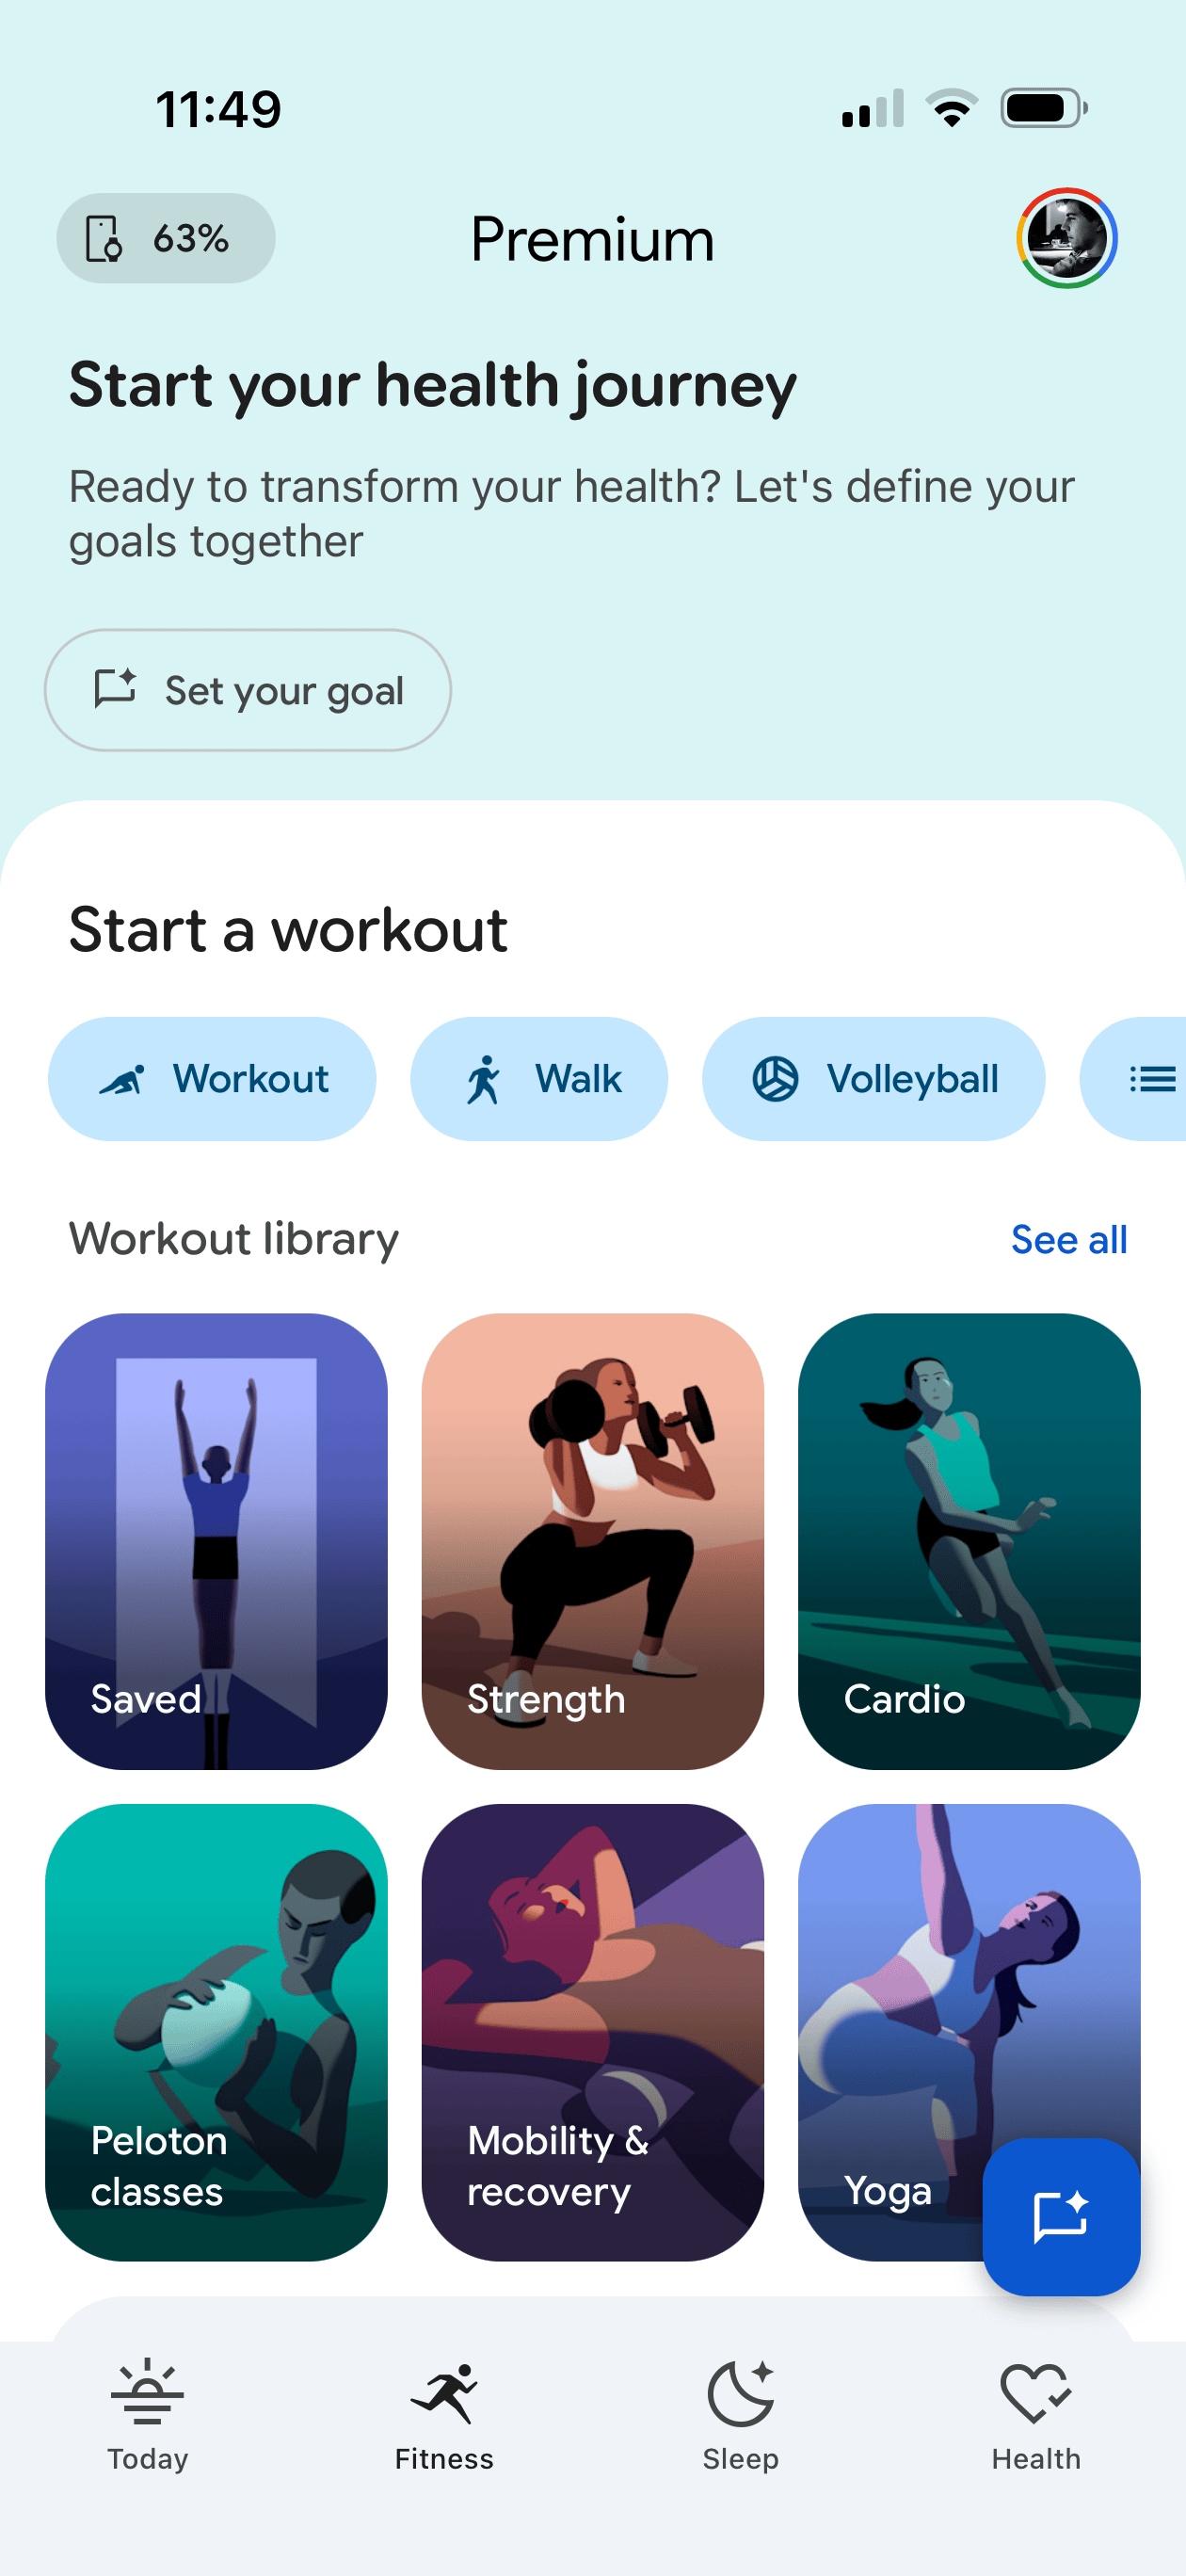
Heck if you go to the “Fitness” tab or the app (where I would think you’d easily be able to start a workout) the top 25% of the screen is a “Start your health journey” call to action that upon tapping the “Set your goal” button opens an AI chat (what?) that has been spinning for 15 seconds now with “Preparing an answer” (an answer to what??). Then there’s another 40% of the screen dominated by a library of what seem to be guided video exercises rather than again, a simple list of activities to choose from. Why? This screen should be dominated by my fitness stats and the option to start a workout. There is a teeny bar to start different workouts, with workout options such as “Workout” or “Walk”. This makes a lot of sense to me, as I often go to the shoe store and ask for “shoe”.
I’m just complaining at this point, but as it stands now my “Weekly Cardio” progress bar is 22% full, but has “Calibrating, 3 days left” in it and “+0” overlaid on the bar. How do I have any progress if the value is 0? Is the 0 something else? Why show me data if it’s not calibrated?
Okay one more complaint. My resting heart rate looks to be around 58 bpm but under “Daily Readiness” my resting heart rate is rated as “poor”. Why? If I tap on that it says “RHR typically ranges from 60-100 … active people often have lower RHR”. Why is 58-64 poor then?
It’s a bewildering app that on one hand does the job and lets you get to and see the things you want once you get used to it, but it feels like the most hodgepodged, design by committee app I’ve used in awhile. Like six different teams at Google got to do design passes on the app and kept shoehorning in things they wanted versus someone having an actual cohesive vision of what this app should be. It genuinely feels like it would be worth starting over completely from scratch. This is a minimal bracelet that is super easy to use (it just sits on your wrist), it needs a corresponding elegant, non-bloated, simple app.
The experience of using it
All that said, it’s pretty awesome to use. How do you reconcile that with complaining about software for a few hundred words? Because you don’t have to interact with the software that much, it mostly just works ambiently/automatically, and you open the app if you want to view the stats it collected. I wish that last part was better, but you learn to live with the jank.
One of my biggest issue with the Apple Watch is the whole thing around starting and stopping a workout. Call me a dummy but I’d often forget to either start or stop a workout. The watch kinda seems to try to help with this, where 15 minutes after a volleyball match on the drive home when I can’t safely interact with my watch it’ll be like “Hey I think you’re done want me to stop? Yes/No” which is not ideal. On the flip side I’ve never even had to start or stop a workout with the Fitbit Air, it just knows I was working out and nails the start and stop time, at best I have to relabel the workout to the actual sport it was, but apparently this gets better as you train it with time.
And where it’s so much less obtrusive than an Apple Watch it’s so easy to get stats on everything throughout the day and night as I just leave it on 24/7.
As for the accuracy of the stats, all seems great for me there. Sleep data seems to reflect how I feel and has a really in-depth breakdown, and fitness activity seems to track pretty nicely with what I’ve come to expect from the Apple Watch. The only weird thing I’ve noticed (and maybe it’s the case with the Apple Watch too, haven’t tested) but you can really easily/accidentally cheat the pedometer steps by just shaking your wrist (I remember doing this with cheap little pedometers in middle school) which seems weird? If you talk a lot with your hands you might have inflated step counts.
Elephant in the room: Google
Being an ads company, Google doesn’t have the best reputation with data privacy, so I can see why some are squeamish about using such a device. Me? I’m not too worried about Google having access to my step count, heart rate, sleep stats, etc. as they don’t massively feel like super personal stats, and the little bit of unease that gives me is outweighed by the utility of this device, but I totally get how someone else might feel differently.
Wishes from Google
Beyond fixing the app (please), functionality-wise the Fitbit Air seems pretty much perfect to me so there’s not a lot I find myself asking for.
One thing I really would love though is wrist notifications around phone calls. One of my favorite uses for the Apple Watch is when I’m expecting a phone call on a given day, I find even with the ringer on I’ll just miss calls from my iPhone by not hearing the ring or not feeling the vibration, but the Apple Watch vibrating on my wrist always gets through to me. The Fitbit Air has a similar vibration mechanism (used only for alarms I think right now) and if it could pair to your phone like a car can for reporting phone calls (and maybe even texts, but I’d personally turn that part off), that’d be super handy.
Do I recommend it?
I do! At $99 USD it’s a pretty handy device if you care at all about health stats. It’s not perfect (especially in the app department) but it’s honestly exceeded the expectations I had for it, so for the price and for how unobtrusive it is day to day I’m really enjoying it.
At the same time, Apple has a much better (downright impressive) reputation around data privacy, and in my eyes a lot better ability to design nice software, so I’d love to see them design a competing bracelet as an additional offering to the Apple Watch ecosystem. I’m not sure what more in terms of OS integration they’d be able to do that would move the needle that much, but I’d just love to see Apple’s spin on such a device and I’d feel a bit better about the data privacy angle.